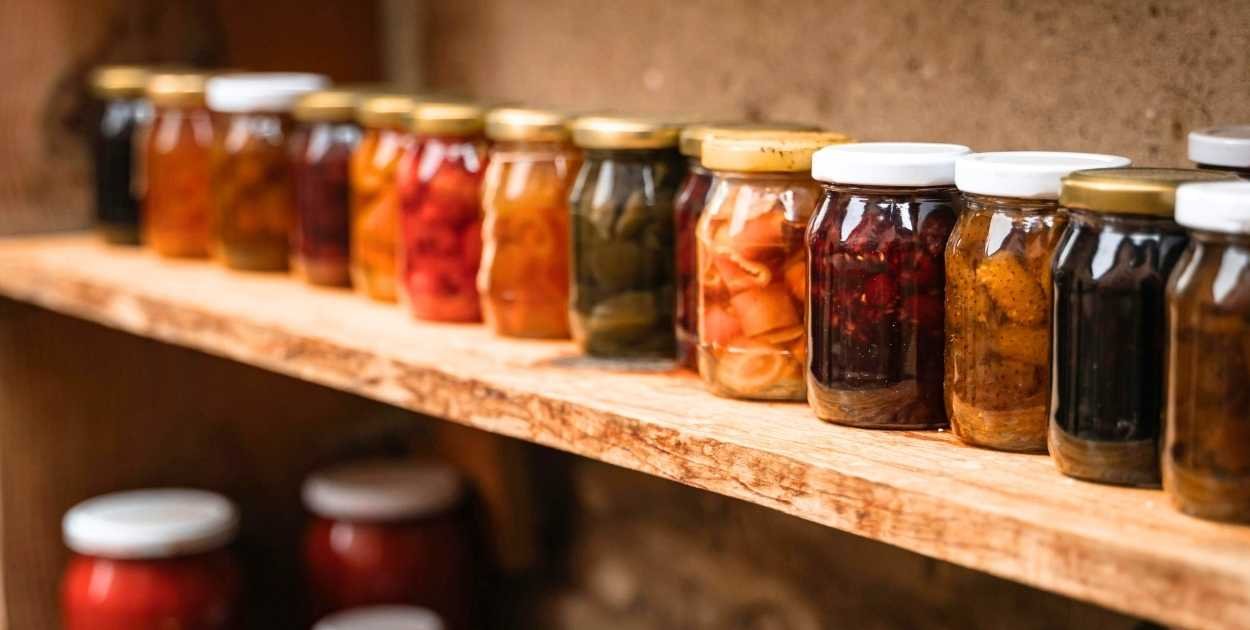
A deep pantry shelf sounds like a luxury until you realize everything past the first row basically disappears. You forget it is there, you buy a replacement.
That is exactly what happened with my creatine supplement: I bought two jars, used one, pushed back the second, and completely lost track of it for months.
Found it eventually, way past the date, and it also happens with spice jars, dal packets, and snack boxes.
For me, sometimes, out of sight really does mean out of mind.
So to fix that, you have to change how you use the depth of the shelf rather than fighting it.
Here is how to actually do that, including some creative approaches you will not see in every generic pantry post.
Why Deep Pantry Shelves Are a Different Problem
Most pantry advice is written for shallow shelves where everything is basically one item deep.
Deep shelves are a completely different situation; you have 18 to 24 inches of depth sometimes, and the back half of that space is basically a black hole.
The specific problems that come with deep shelves:
- You cannot see what is at the back without moving what is in the front
- Taller items get pushed to the back, and shorter items pile in front, making it worse
- Things expire because they are forgotten
- Every time someone else uses the pantry, whatever system existed gets disrupted
- Restocking makes it worse because new items go in front of the old ones
That last one is the silent killer of the pantry organization. You stock new cans in front, older cans go to the back, and you end up using the new stuff first.
Quick Note: If you do not have a dedicated pantry and use a deep kitchen cabinet or open shelves instead, everything here still applies. The depth problem is the same regardless of what the space looks like.
Stop Organizing in Rows
The standard approach is to line things up from front to back, which does not work in a deep pantry.
The better mental model is Zones, where different depths serve different purposes.
Front Zone (0 to 8 inches): Daily Use Items Only
This is prime real estate; only things you reach for multiple times a week belong here, such as salt, oil, the spice you use daily, and the cereal that gets eaten fast.
If something sits in the front zone for more than two weeks untouched, it needs to move back.
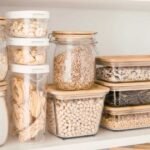
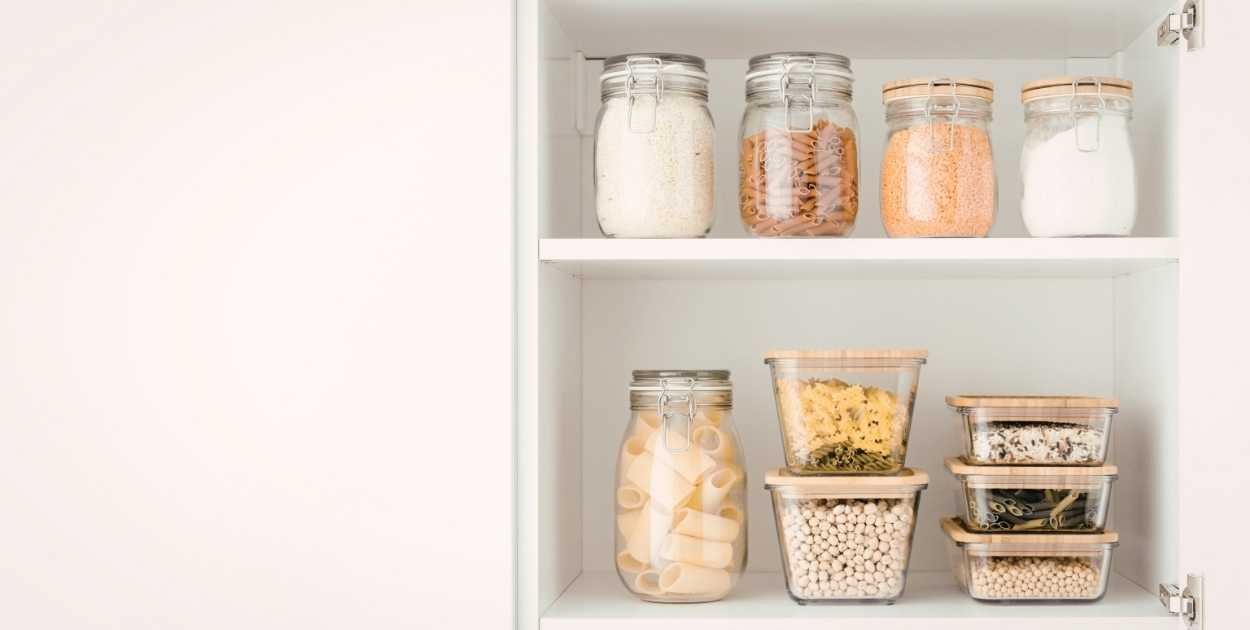
Middle Zone (8 to 16 inches): Weekly Use, Clearly Labeled
Bins and baskets work really well here; you pull the whole bin out to access what is inside, rather than reaching past things.
Label each bin so you know what category is where without having to look inside.
Though we’re not really fond of labeling at first, I still put up labels on our kitchen storage area.
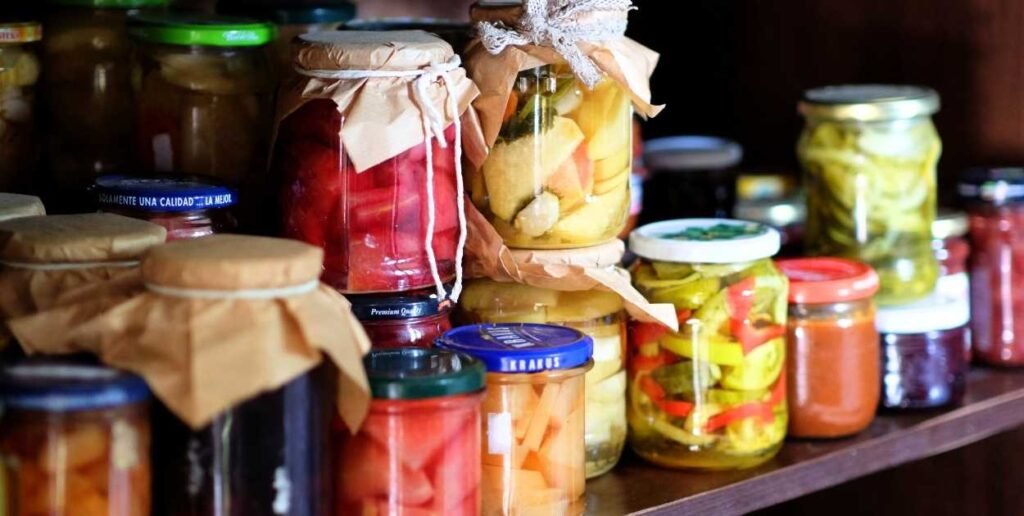
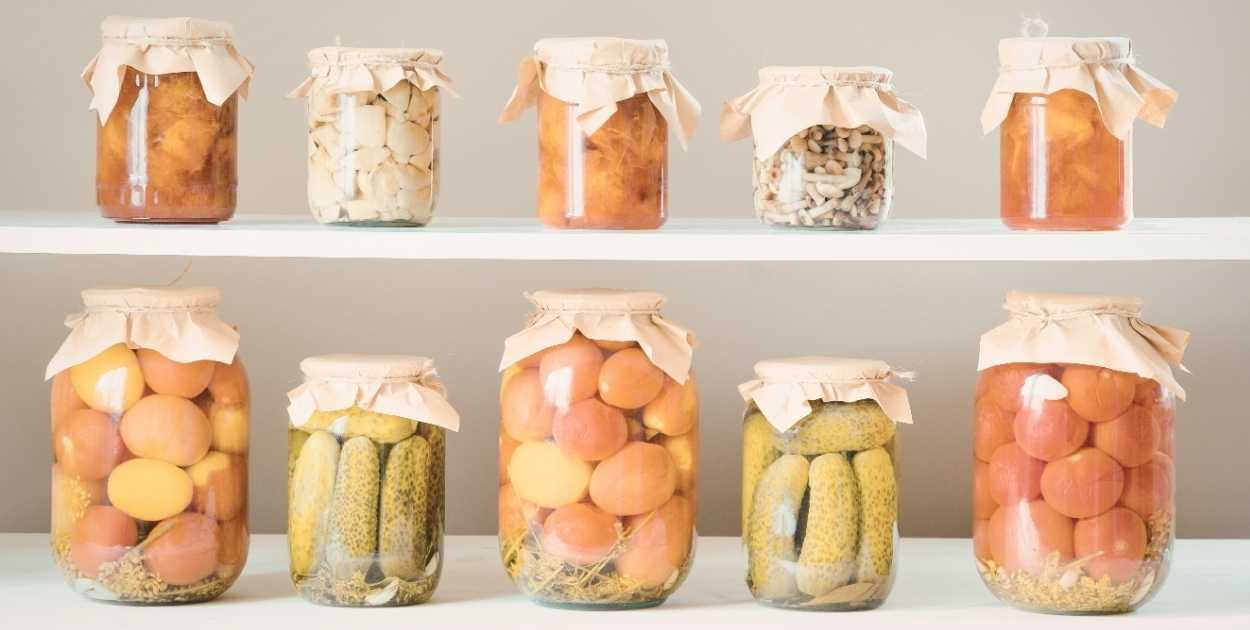
Back Zone (16 inches and beyond): Bulk, Backup, and Rarely Used
This is the only zone where depth actually makes sense, like bulk rice, extra cooking oil, backup packets of stuff you buy in quantity.
Things that have a long shelf life and that you access maybe once a month to restock the front.
The key is that you should never put something in the back zone that does not have a twin in the front or middle zone.
If a product only has one unit, it stays visible; only backup or bulk goes deep.
Creative Ways to Actually Use the Back of the Shelf
This is where it gets more interesting; the zone system I discussed is the strategy.
These are the tools and tricks that make it work without having to reorganize every week.
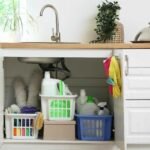
Pull-Out Pantry Bins or Drawers
This is probably the single most effective fix for a deep shelf. A bin that slides out on the shelf surface brings everything in it to you, so you are not reaching past things or forgetting what is at the back.
You pull, you see everything, you take what you need, you push it back.
The ones worth getting are wide, low-profile, and have a front handle.
Clear sides help so you see contents without pulling it all the way out, see here:

Turntable (Lazy Susan) for Cans and Jars
A rotating turntable means nothing is ever permanently at the back; you spin it, and what was hidden comes forward.
It sounds simple because it is, but it works especially well for canned goods, jars, and bottles where things tend to cluster.
The ones designed for pantry shelves are usually 10 to 12 inches in diameter and low enough to fit under most shelf heights.
A two-tier lazy susan gives you even more surface.

A “Restock Rail” or First-In-First-Out System
This one comes from grocery store logic, and I have heard about it in a few food storage communities.
You can add new cans or packets from the back and take from the front; old stock is always in front, and new stock loads behind it.
There are actual can organizer racks built for this. You can load from the top back, and the cans roll forward to the front as you take them.
It sounds more complicated than it is.
Practically, it means you never use a new can while an older one is still sitting at the back, going unnoticed.
This is what would have saved my creatine; if it had a clear front slot, I would have seen it every time I opened the pantry.

Shelf Risers to Create a Second Level
If your shelves are spaced far apart, you are wasting vertical space.
A shelf riser sits inside the pantry and creates a second level on a single shelf, with short items on top, taller items underneath or beside.
Effectively doubles how much you can store on that one shelf without making it any harder to see things.
Expandable versions fit different shelf widths.
Vertical Dividers for Baking Sheets, Trays, and Boards
If you store cutting boards, baking sheets, or trays in your pantry, they usually get flat-stacked, and it becomes a project to get the one at the bottom.
Vertical file-style dividers let you store these upright, side by side, so you just pull out the one you need without disturbing anything else.
Community Tip: Someone in one of the home organization groups I follow suggested storing these vertically using a dish rack inside the pantry. Cheap, easy, and it works exactly the same way. You probably already have one.
The “Expiry Check” Basket
This is a habit more than a product, but it needs a physical object to work.
You have to keep one small basket specifically for items that are nearing their expiry date.
When you are restocking or cleaning the pantry, anything that is getting close to its date goes into this basket.
It sits at the front, so you use those things first.
I started doing a rough version of this after the creatine situation. I do not check dates every week; that would never stick.
But when I am putting away new groceries, I do a quick scan and move anything close to the front and center.
Clip-On Shelf Labels or Chalkboard Tags
Labels matter more in a deep pantry than a shallow one because you cannot see what is where at a glance.
Category labels on bins, “FRONT/USE FIRST” tags on older items, even a small chalkboard label on a basket edge, all help the whole household put things back where they belong.
This is less about looking organized and more about reducing the number of times someone digs through everything and rearranges it accidentally.
When there is a clear label, most people follow it.
If You Do Not Have a Dedicated Pantry
A lot of people in my community, especially in smaller apartments or older homes, do not have a pantry cabinet at all.
They are working with deep kitchen cabinets, a shelf unit, or sometimes just a corner of the kitchen.
A few things that work well in these setups:
- Over-the-door pantry organizers: Hang on the back of a kitchen door and add instant, shallow, visible storage for packets, spices, and small bottles.
- Freestanding shelf units: A simple metal rack in a corner creates a pantry from nothing; you control the shelf spacing.
- Under-shelf baskets: Clip onto existing shelves to add a second level without modifying anything.
- Magnetic spice racks on the fridge side: frees up cabinet depth for bigger items and keeps spices visible.
The goal in all of these is the same: you want to avoid the situation where something gets pushed behind something else and disappears for six months.
How to Start Without Overwhelming Yourself
The hardest part of organizing a deep pantry is the first step because it looks like a big project. Here is how I think about it:
- Pull everything out of one shelf, just one, not the whole pantry.
- Check dates as you go, toss what is expired, and set aside what is close to expiring.
- Group what is left by category: grains, canned goods, snacks, condiments, etc.
- Decide what goes front, middle, and back based on how often you use it.
- Put category bins or a turntable in place before you put anything back.
- Do the next shelf another day if you need to; one shelf is already done.
The reason I say one shelf at a time is that doing the whole pantry in one go means you are exhausted halfway through, and the back half gets thrown back in without any real system.
Honest Admission: I have reorganized the same shelf twice because I did not use bins the first time. Everything looked neat for about four days, and then the same creep started again. The bins are what actually hold the system in place.
Final Thoughts
A deep pantry does not have to mean a wasteful pantry. The back of the shelf stops being a problem the moment you stop treating it like flat storage and start using it for what it is actually good for: backup and bulk.
Front zone for daily items, middle zone for weekly use with bins, back zone for backup only.
Add a turntable or pull-out drawer to make the middle zone easy to access, label your bins so everyone in the house follows the same system, and do a quick expiry check whenever you are stocking new groceries.
That is really it, no complicated system, no Pinterest-perfect pantry required.
Just enough structure that the creatine supplement, or whatever version of it lives in your pantry, does not sit in the back and expire quietly while you buy a replacement.
Questions That Come Up a Lot
How do I stop other people in the house from messing it up?
You cannot fully control it, but clear bins with labels make it much easier for others to put things back correctly because the decision is already made for them.
Should I use clear bins or solid ones?
Clear for almost everything inside the pantry, the whole point of a bin is to group things, but if you cannot see into it, you have just created a smaller hidden space.
Solid bins are fine for the back zone, where you know exactly what is in there, like bulk rice or a backup packet supply you do not need to see regularly.
How do I handle a pantry that is used by the whole family, including kids or guests?
Keep the snack zone and daily items at the most accessible level, front and center.
Everything else goes in labeled bins. When guests use the pantry, they are mostly looking for snacks or common items.
If those are obvious, they are less likely to dig through everything else.
What is the minimum I need to buy to make a real difference?
Two or three pull-out bins or a lazy susan turntable make the biggest immediate difference.
You do not need to buy ten different organizers; start with one product that solves your specific worst problem, usually the depth issue, and go from there.
Abraham is the creator of Mountain Bike Insider. He is a writer and researcher who enjoys mountain biking, working on DIY projects, organizing spaces, and testing ideas in real life. He focuses on clear and honest explanations based on experience and research, without pretending to be a professional expert.