Removing a single cabinet door costs nothing, and in my Facebook home community, it’s one of the small changes people keep bringing up as the thing that shifted how their kitchen actually felt.
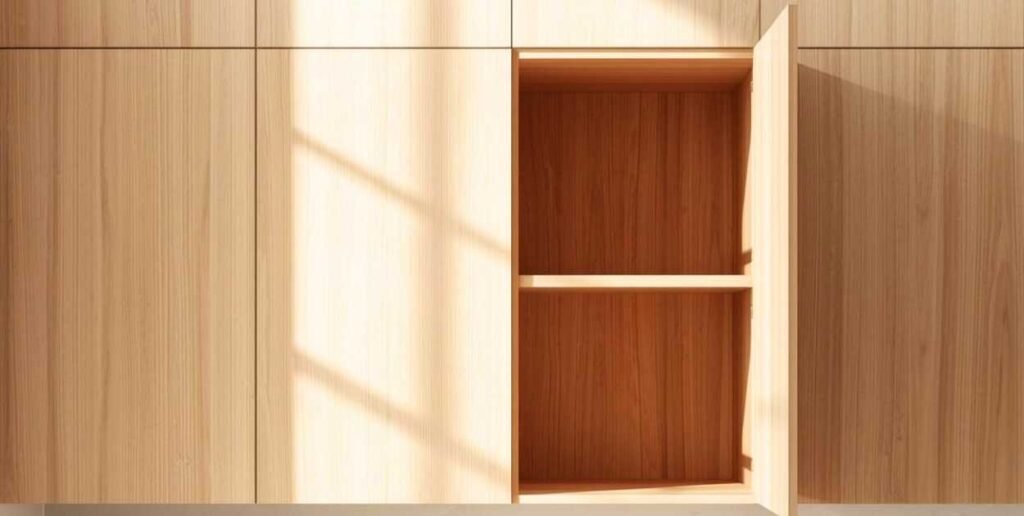
Not a full renovation, new cabinets, just one door off, the inside painted, and a few intentional items arranged on that shelf.
It works because a closed wall of cabinets reads as heavy. One open section breaks that up. It gives the eye somewhere to land that isn’t a flat door, and it makes the space feel less like storage and more like a kitchen someone actually lives in.
People in my Facebook community are split on this one; some love it and haven’t looked back.
Others did it, kept it for a few months, and reattached the door. Both sides have real reasons.
I have covered all of it, so you can decide before you unscrew anything.
Which Cabinet to Pick and Which to Leave Alone
Not every cabinet is a good candidate; the ones that work best for open shelving are upper cabinets, not lower ones.
Lower cabinets take more wear, and an open lower shelf just collects crumbs and gets kicked.
Upper cabinets are at eye level or slightly above, which is exactly where an open shelf has visual impact.
The best position is usually one or two cabinets flanking the range or the window, or a single cabinet on the end of a run.
A corner that feels dead suddenly gets some life when it has something styled on it rather than a door hiding a stack of rarely used plates.
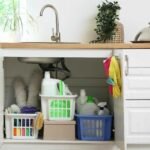
Cabinets to avoid for this: Anything above the stove where grease and steam collect, the cabinet where you keep cleaning supplies or medicines, and cabinets with no real depth.
If the shelf inside is shallow, there’s not much you can do with it visually.
One cabinet door removed is usually the sweet spot; two adjacent ones can work in a larger kitchen.
More than that starts to feel like a design decision rather than a refresh, and it brings all the maintenance questions that come with full open shelving.
Why People in My Community Loved It

The most common thing people said was that the kitchen felt bigger. Not because it actually got more space, but because breaking up that wall of cabinet doors created visual breathing room.
Especially in smaller kitchens where the upper cabinets sit close to the counter, one open section lifts that visual weight noticeably.
A few people also mentioned that it forced them to deal with what was actually inside those cabinets.
When everything is behind a door, it’s easy to just push things in and forget about them.
Once one cabinet is open, you start thinking about what goes there, what you actually reach for, what looks decent.
Several people said they ended up reorganizing half their kitchen just because of that one open shelf.
The other thing that came up was cost; there is no cost.
You unscrew the hinges, set the door aside, touch up the inside of the cabinet if needed, and you’re done.
The door is still there if you ever want it back; nobody felt they had made a permanent or risky change.
Why Some People Regretted It and Put the Door Back
People who cook every day, especially anything that involves frying or a lot of steam, noticed that items on the open shelf needed wiping down more often.
Not daily, but definitely more than things sitting behind a closed door.
One person in my community described it as a weekly thing that she didn’t want to add to her list. Fair.
The other issue was the expectation that it would always look styled.
An open shelf looks great when it has three or four intentional items arranged with some breathing room.
It looks bad fast when someone puts a half-empty cereal box on it, or when the stack of mismatched mugs ends up there because the other cabinet is full.
People who live with kids especially found this.
You style it, it looks good, and then two days later, it looks like the inside of any other cabinet, except now everyone can see it.
A few people were also honest that the inside of their cabinet, once the door came off, didn’t look great.
Old contact paper, scuffed shelving, maybe a paint color that didn’t match the rest of the kitchen. That’s fixable, but it’s work they hadn’t planned for.
Sort Out the Inside Before You Style Anything
This is the step that gets skipped and then makes the whole thing look off.
The interior of most kitchen cabinets was never meant to be seen, so it’s usually a different color from the rest of the kitchen, sometimes stained, sometimes covered in old shelf liner.
The minimum is a wipe-down and a fresh coat of paint on the back wall and the shelf surface.
A contrasting color on the inside back wall actually looks intentional. White on white reads like a mistake.
Some people in my community used a dark navy or a deep forest green on the inside back wall of an otherwise white cabinet, and the effect looked deliberately designed rather than like a door just happened to be missing.

If the shelf surface itself is rough, scuffed, or has old adhesive residue from contact paper, light sanding and a coat of the same paint solves it.
It takes maybe 30 minutes for one cabinet interior, and it makes a significant difference in how the finished shelf reads.
Also, fill the hinge holes with wood filler if they’re visible once the door is off. Small dots of old hinge hardware on a freshly painted shelf interior look unfinished. This takes five minutes and dries quickly.
What to Actually Put on the Shelf
This is where most people struggle; the shelf looks styled in a magazine because it has three things on it with space between them.
In real life, the instinct is to fill it because storage is always tight in a kitchen. Fighting that instinct is the whole job.
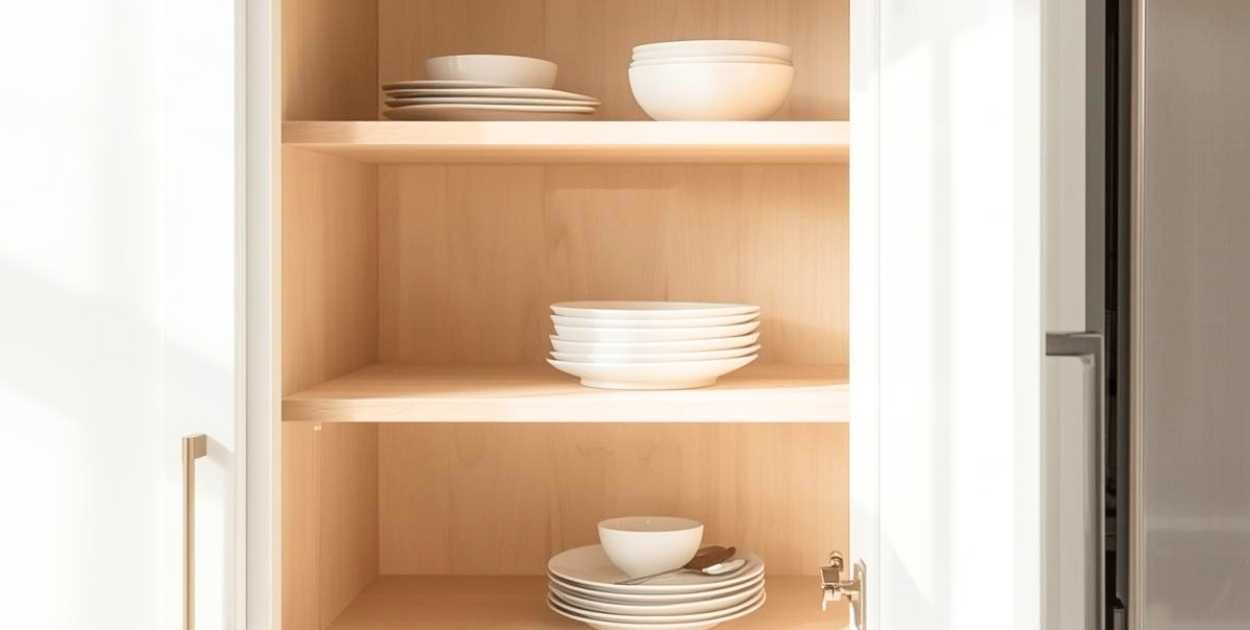
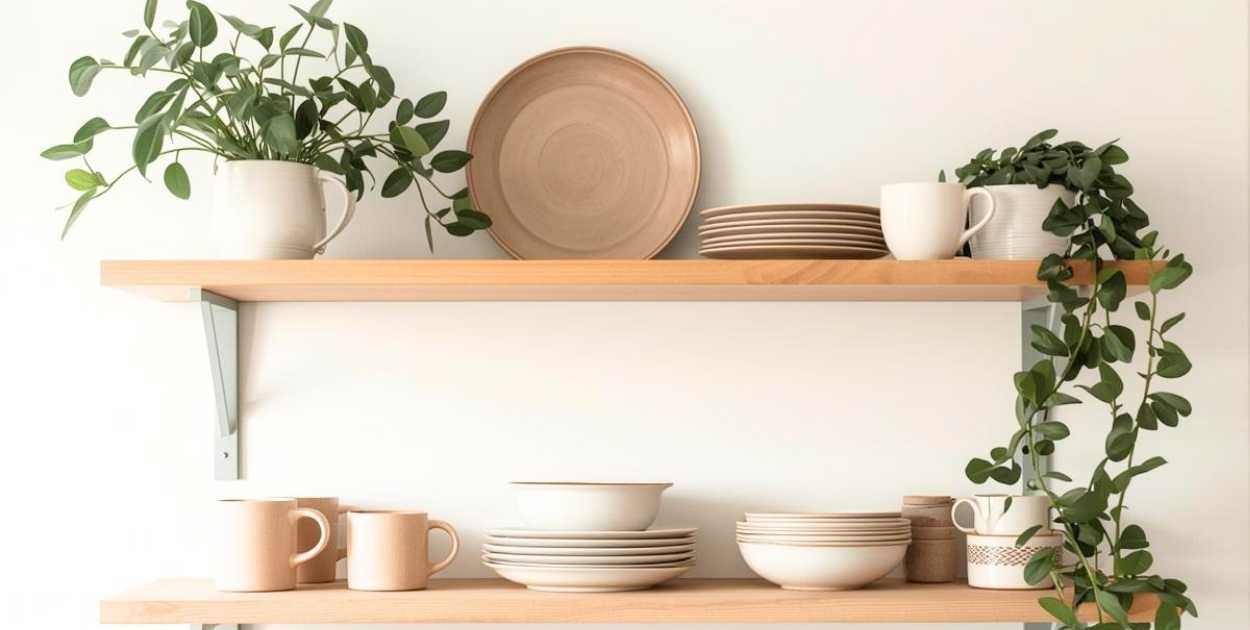
The items that work best are things you actually use and things that have some visual weight.
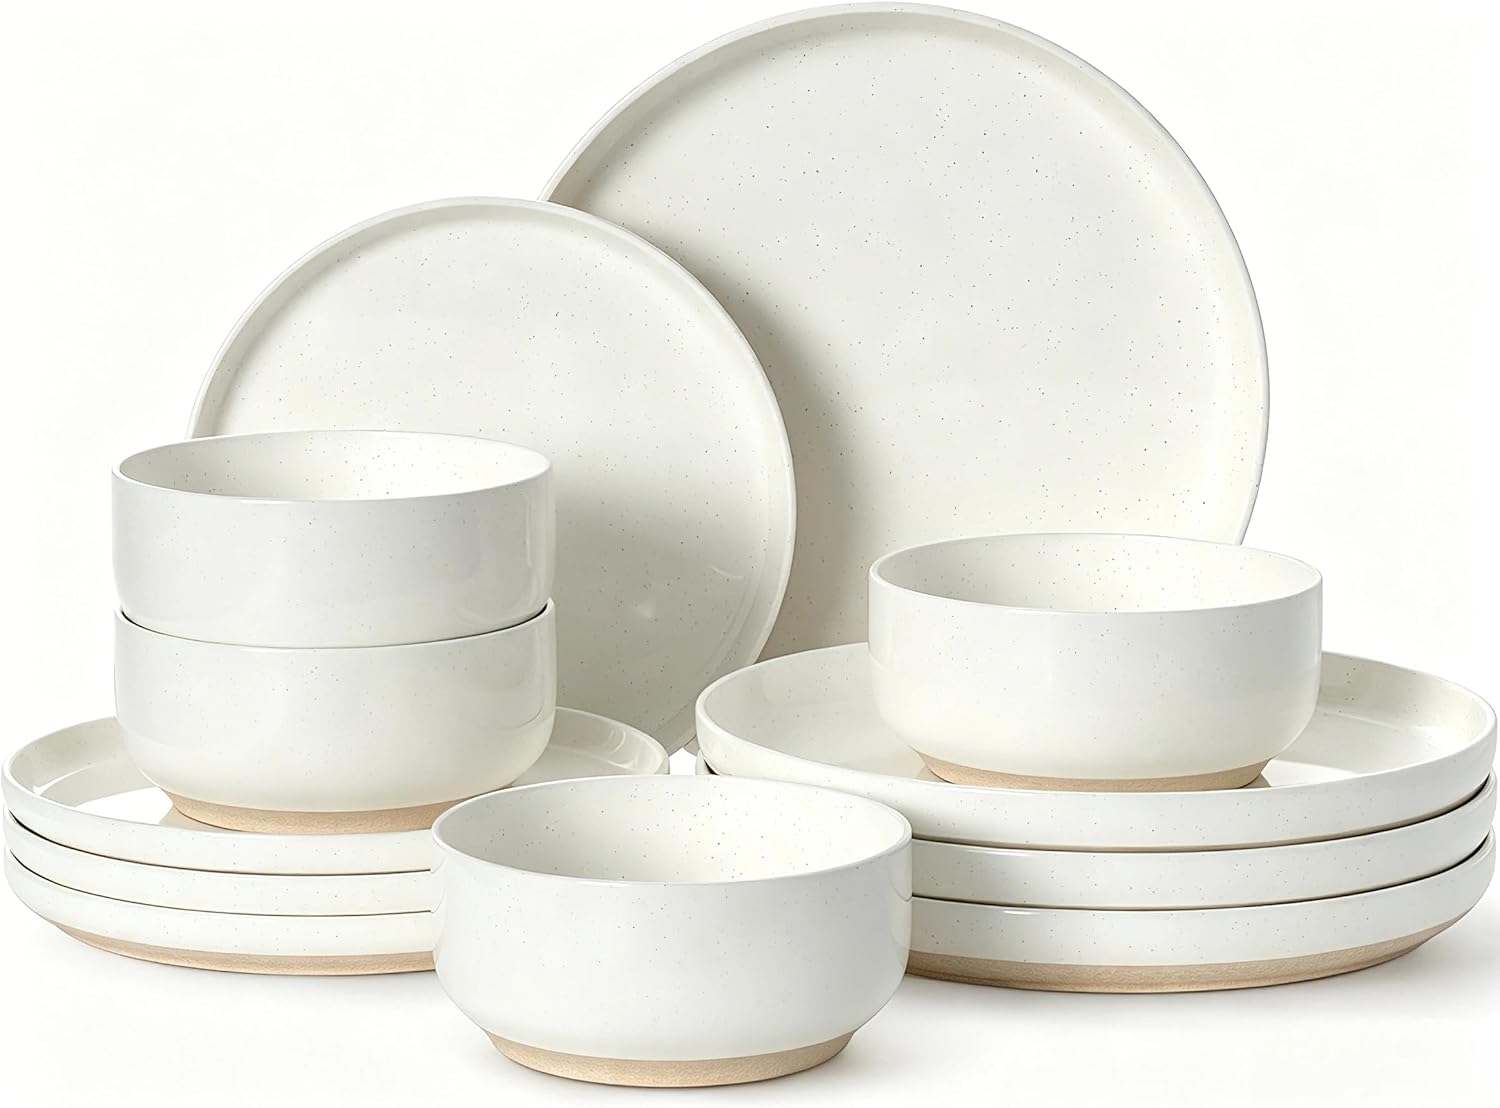
Stacked plates or bowls in a consistent color, a cutting board leaning against the back wall, a few mugs with matching handles, a small plant, or a glass jar with something in it.
The common thread in every kitchen shelf that looks good is that the items share a color story. Not exactly the same, but from the same family.
What to keep off the shelf
Anything with a label facing outward that isn’t beautiful, plastic containers, random single items that don’t relate to anything else, and things with cords.
Those go back in the closed cabinets; the open shelf only earns its keep if it holds things that either look good or are used every single day.
A simple rule that works: two functional items, one purely visual item, and one empty pocket of space.
That last part is the hardest for people to accept.
But empty space on a shelf is not wasted space. It’s what makes everything else look placed rather than dumped.
The Dust Question, I Answered Honestly
Yes, things on open shelves collect more dust and grease residue than things behind closed doors.
There is no way around this; how much it matters depends entirely on how you cook and how often you clean.
If you cook with a lot of oil, fry things regularly, or your kitchen has poor ventilation, the items on an open shelf will need wiping down about once a week to stay looking good.
If you cook lighter meals and your kitchen has decent airflow, a biweekly wipe is usually enough.
Plates and bowls you use every day take care of themselves because you wash them anyway.
Purely decorative items, a vase, a small plant, a canister you don’t often open, those are the ones that show dust.
One practical fix people in my community mentioned: a small lazy Susan on the shelf.
It makes it easy to rotate items, wipe underneath, and keep things from sitting in the same spot for months. Simple and actually useful.

Final Thought
One cabinet door is the whole project. It costs nothing, takes about ten minutes, and is completely reversible.
The people in my community who loved it mostly say the same thing: the kitchen felt like theirs for the first time, not just a row of boxes on the wall.
The ones who reattached the door don’t regret trying it.
They just learned something true about how they use their kitchen; either outcome is fine. But you probably won’t know which one applies to you until you try it.
FAQs
Do I need any tools to remove the door?
Just a screwdriver. Most cabinet hinges are held by two or three screws on each side.
Unscrew the hinge from the cabinet frame, not just from the door, and the door comes right off. Keep the hardware in a bag in case you want to rehang it later.
What if the inside of my cabinet is a really ugly color or has old shelf paper?
Peel off the paper first, clean the surface, and paint it.
One small sample pot of paint is usually enough for a single cabinet interior.
This step makes more of a difference than anything you place on the shelf afterward.
Can I do this in a rental?
Yes, you are not making any permanent changes.
The door comes off with a screwdriver and goes back the same way.
Just store the door and all the hardware somewhere safe. When you move out, rehang it, and nobody knows the difference.
What if I have an odd number of cabinets, and removing one door makes it look unbalanced?
Either remove the door on both sides of a centered cabinet so it reads as symmetrical, or pick an end cabinet where asymmetry makes more sense visually.
A solo open shelf at the end of a row usually looks intentional rather than accidental.
Abraham is the creator of Mountain Bike Insider. He is a writer and researcher who enjoys mountain biking, working on DIY projects, organizing spaces, and testing ideas in real life. He focuses on clear and honest explanations based on experience and research, without pretending to be a professional expert.