You don’t need new cabinets, paint; all it takes is pulling out those brass knobs from 1994 and replacing them with something that actually belongs in this decade.
Cabinet hardware is one of those upgrades that sounds too small to matter until you do it, and then you can’t stop staring at how different the whole kitchen looks.
For most kitchens, you’re looking at $40 to $55 in hardware to cover all the doors and drawers.
Add a $12 hardware jig if you need to drill new holes, and you’re still under $70 total.
If your new holes line up with the old ones, you don’t even need the jig. Either way, this is a Saturday afternoon project with a Monday morning result that people will actually notice.
What to Buy and What Finish to Choose
The finish is the decision most people spend the most time on, and honestly, it’s not that complicated.
Two finishes are doing the heavy lifting right now in kitchens that want to feel modern but not cold:
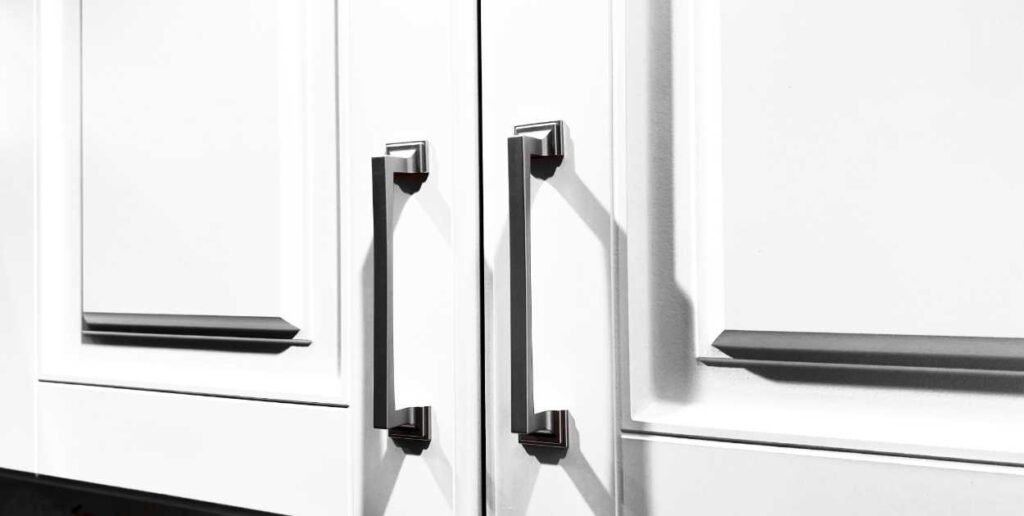
- Matte black is the go-to if your kitchen is white, grey, or has any modern edge to it. It reads expensive, doesn’t show fingerprints as badly as polished finishes, and a pack of 30 bar pulls runs about $25 to $35 on Amazon from brands like Ravinte or Estmoon.
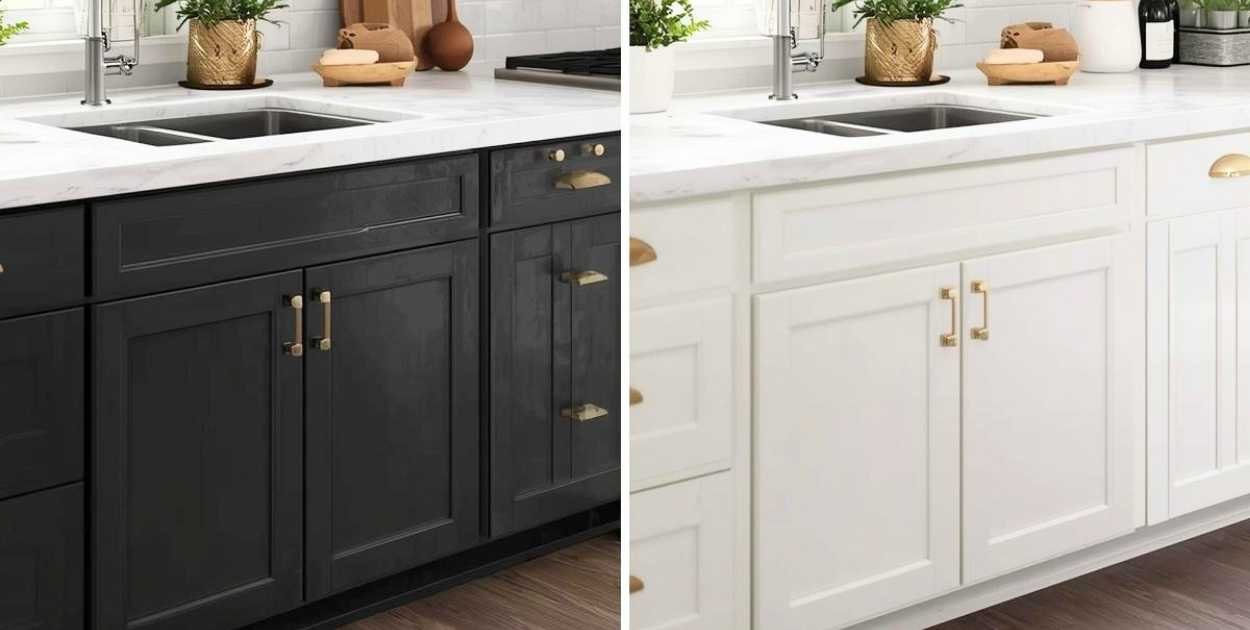
- Brushed brass or champagne bronze works if you want warmth. It pairs well with white cabinets, cream walls, or any kitchen that leans farmhouse or transitional. It’s not the shiny gold from the 90s. It’s much more muted, and it ages well.
- Brushed nickel is the safe, neutral option if you’re not sure. It goes with almost everything and won’t clash with stainless steel appliances.
For most kitchens, bar pulls on drawers, and either matching bar pulls or simple round knobs on doors, is the combination that looks the most intentional.
Mixing hardware styles on purpose can work, but mixing them by accident just looks like you ran out of one pack.
One thing worth knowing: packs of 10 are fine if you have a small kitchen. But if you have a full kitchen with 20-plus doors and drawers, look for packs of 25 or 30.
Buying two separate packs of 10 just to realize you’re three short is a thing that happens to people.

Knobs vs. Pulls: This Is the One Choice That Trips People Up
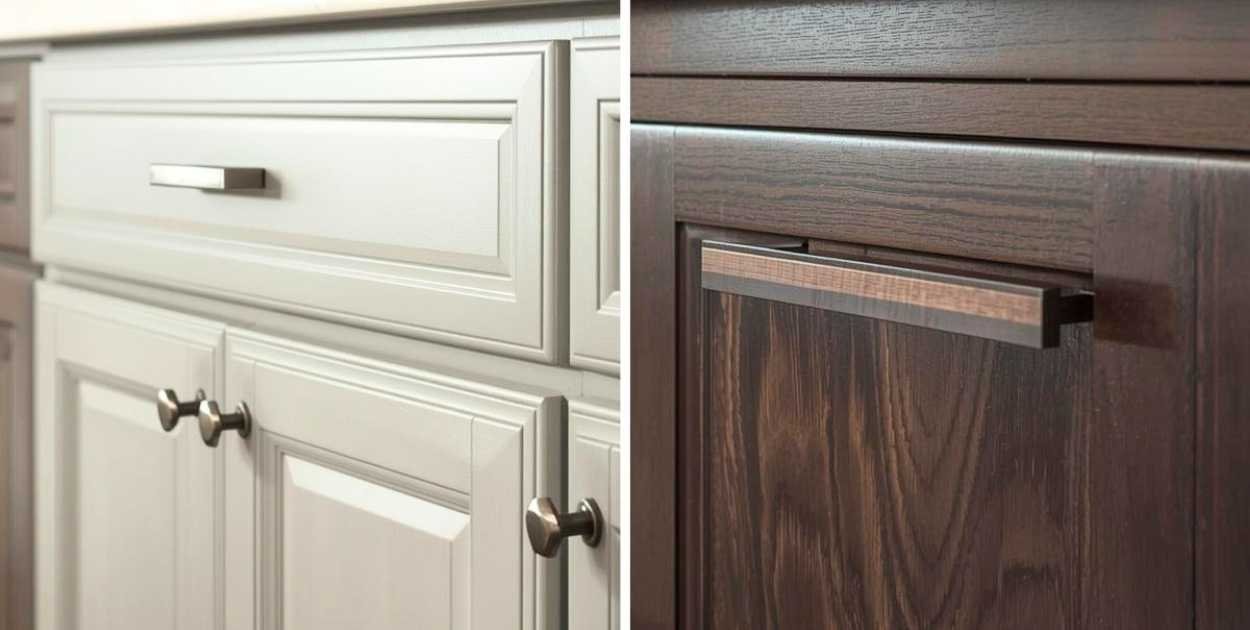
Pulls (bar handles) are generally easier to grab, especially on drawers. If someone in your house has arthritis or just a weak grip, pulls are the more functional choice.
Knobs are smaller, cheaper per piece, and work well on cabinet doors where you’re pulling from one side.
The most common setup I’ve seen recommended in home communities: pulls on all drawers, knobs on upper cabinet doors, and pulls on lower cabinet doors. It’s not a rule, but it tends to look balanced and feel good to use.
On size: a 3-inch center-to-center pull works on small to medium drawers. For bigger drawer fronts, a 5-inch pull looks more proportional.
Don’t put a tiny 3-inch bar handle on a wide, tall drawer front. It looks lost.
The Drilling Part (This Is Where Things Go Wrong)

People in my community who’ve done this project are mostly happy with the result.
But when I asked what the hardest part was, the drilling came up almost every time. Specifically, two things:
- Holes ending up slightly off-center or uneven across cabinets
- Drilling too hard and blowing out the back of the cabinet door
Both of these are avoidable; the first one is fixed by using a hardware jig, which is basically a positioning template that clips to the cabinet door or drawer and tells you exactly where to drill.
You set it once, and then every single hole is in the same spot.
Without one, you’re measuring by hand each time, and small errors add up across 20 doors.
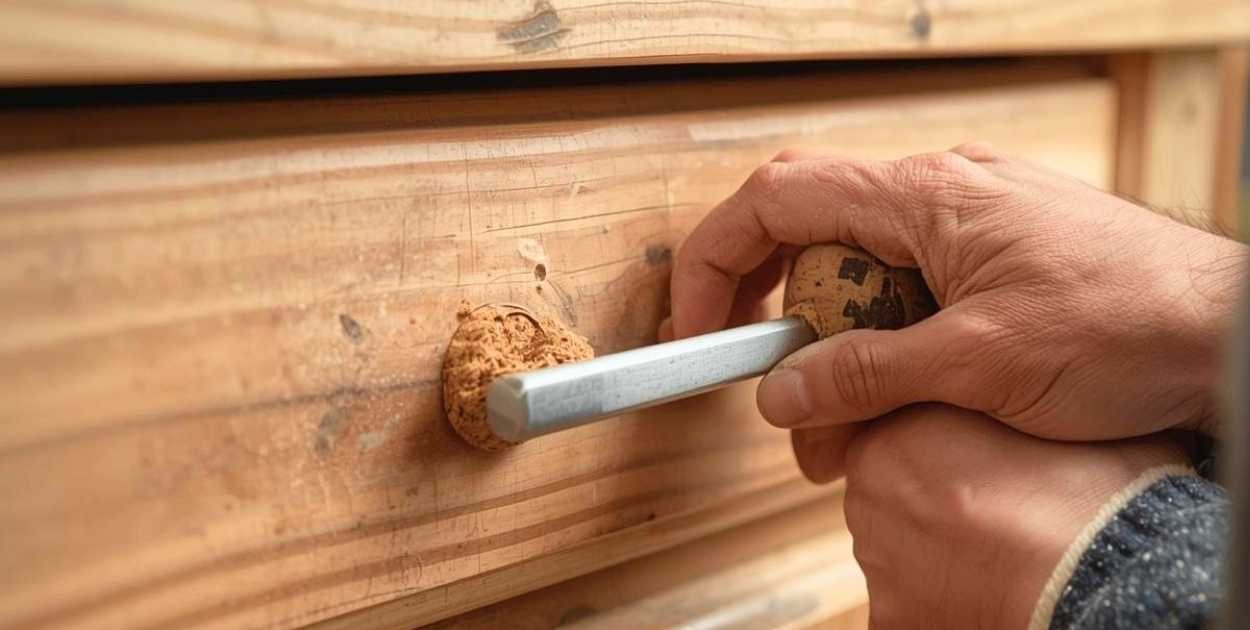
The second problem, blowing out the back of the wood, happens when you push too hard and let the drill bit exit fast.
So, you can go slow as you get close to breaking through, and put a piece of painter’s tape on the back of the door where the bit will come out.
The tape keeps the wood fibers together and gives you a cleaner exit hole; nobody sees the back of a cabinet door anyway, but it’s still satisfying to do it right.
One more thing: drill a pilot hole first with a small bit, then widen it with the correct-size bit.
It takes 30 extra seconds per hole and prevents the bit from wandering on the first contact.

What If the New Hardware Doesn’t Line Up with the Old Holes
This is the question everyone has before they buy.
So, if you’re switching from a knob to a knob, and both are single-hole, you’re usually fine. The new knob covers the old hole.
If you’re switching from knobs to bar pulls, you’ll need to drill new holes because pulls need two holes spaced apart.
The old knob hole will either be hidden under the pull’s base plate, or it’ll be visible and need to be filled.
Wood filler that matches your cabinet color works fine for this.
You dab it in, let it dry, sand it lightly, and it’s invisible unless someone is looking closely from two inches away.
If you’re switching between two different pull styles with different hole spacing (like going from a 3-inch center-to-center to a 5-inch), same deal: fill the old holes, drill new ones. It’s not complicated, just an extra 20 minutes.

Don’t Forget the Hinges If They’re Visible
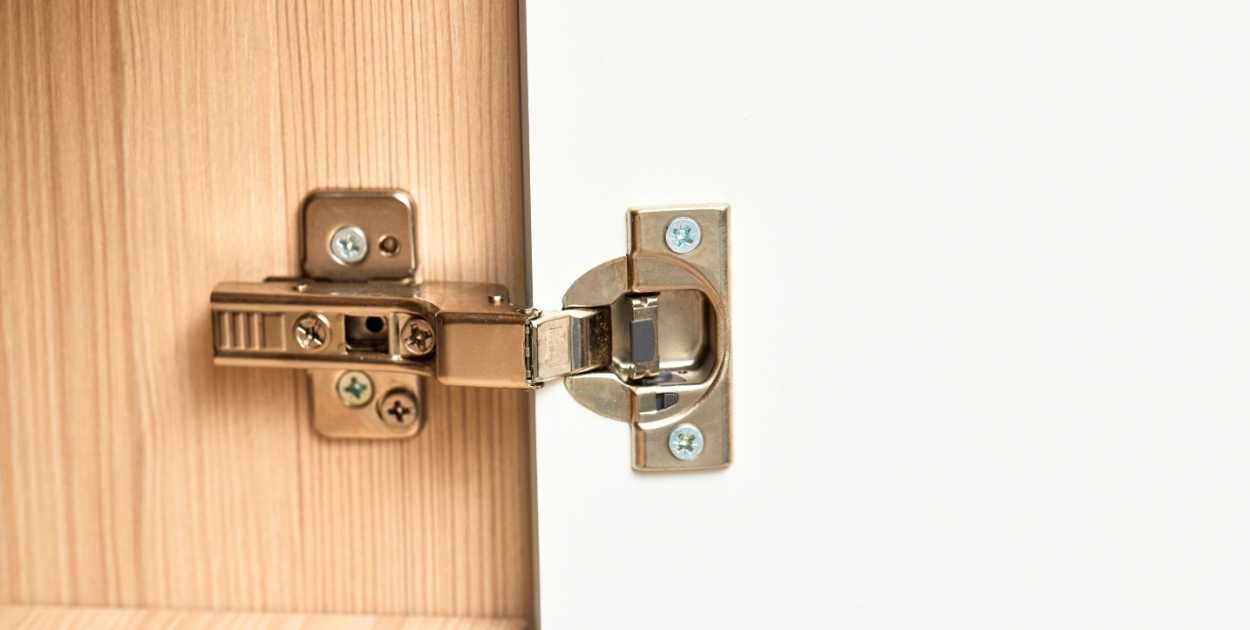
Most modern kitchens have concealed hinges, so this doesn’t apply.
But if your kitchen has exposed hinges on the outside of the cabinet doors, and you’re replacing all the hardware with matte black or brushed brass, those old chrome or brass hinges are going to stand out in the wrong way.
Visible hinges in a matching finish aren’t expensive.
A pack of soft-close concealed hinges runs about $15 to $20 for a pack of 20 on Amazon.
If your cabinets currently have exposed hinges and you want a cleaner look, switching to concealed hinges while you’re already doing the hardware is worth the extra step.
You won’t need to drill new holes for hinges in most cases, since hinges typically screw into existing positions.
If your hinges are concealed and just the finish looks dated, an oil-based spray paint in the matching hardware finish can update them without replacing anything.
Final Thought
Cabinet hardware is one of those things where the before and after photos always look like you did more than you did. That’s not a trick; that’s just how much visual weight small hardware carries in a kitchen.
The old stuff is usually what people stop noticing, and the new stuff is what makes someone walk in and say the kitchen looks different without knowing why.
Under $50, one afternoon, no contractor. That’s the whole pitch. And if you use a jig, the drilling part that scares people most ends up being the easiest step of all.
FAQs
How do I know what size pulls to buy before I measure?
The center-to-center measurement is the distance between the two screw holes. Most standard drawers fit 3-inch (76mm) pulls.
Wider drawers or full-height doors look better with 5-inch (128mm).
When in doubt, measure the drawer width, and pick a pull that’s roughly one-third of that width.
Can I mix matte black hardware with stainless appliances?
Yes, and it looks good. Black and stainless is a common pairing right now.
The contrast actually works better than trying to match everything in the same silver tone.
What if I mess up a hole? Is the cabinet ruined?
No. Wood filler and a bit of touch-up paint fix most mistakes.
The only hard-to-fix error is if you drill in a wildly wrong location, but even that can be patched and painted over.
One bad hole is not a cabinet replacement situation.
Do I need a power drill, or can I use a screwdriver?
You need a drill for making the holes. For tightening the screws, you can use a regular screwdriver, but a drill on low torque is faster.
Just don’t overtighten with a drill, or you’ll strip the screw. Hand-finish the last few turns.
Abraham is the creator of Mountain Bike Insider. He is a writer and researcher who enjoys mountain biking, working on DIY projects, organizing spaces, and testing ideas in real life. He focuses on clear and honest explanations based on experience and research, without pretending to be a professional expert.