If you landed here wondering whether you can actually refresh old kitchen cabinets without spending a fortune: Yes, You Can.
And if you pick the right paint and do the prep properly, about $75 to $85 in supplies is a realistic budget for a small to medium kitchen.
No contractor needed, cabinet replacement, only paint, a couple of days, and some patience with the drying time.
I’ve talked about this a lot in my home and decor Facebook community, and the same question keeps coming up from people staring at their dated oak or laminate cabinets.
People want to know if it actually holds up, what paint to use, and whether they’ll regret it.
So here’s everything I’ve learned from the conversations, the research, and the people who’ve actually done it.
What That $80 Actually Covers
The budget that keeps coming up in communities like mine is right around $75 to $85 for a typical kitchen.
Here’s roughly how that breaks down for a first-timer doing it without a sprayer:
- Cabinet paint (1 quart to 1 small kit): $35 to $55, depending on the product
- Deglosser or liquid sandpaper: $8 to $12
- Foam rollers and a good angled brush: $10 to $15
- Sandpaper (220-grit): $5 to $7
- Painter’s tape: $5 to $8
If your kitchen has more than 15 cabinet doors, or you want a topcoat as a separate purchase, you might push to $100.
But for a smaller kitchen or just upper cabinets, that $80 number is real.
One thing people in my group always mention: don’t buy cheap foam rollers.
They leave bubbles and lint on the surface, and you’ll be annoyed at yourself.
A $4 foam roller quality difference matters here.
The Paint Choice Is Everything
This is where most people get it wrong on the first attempt. They use leftover wall paint or a random chalk paint without thinking about kitchen-specific wear.
Cabinets get touched a hundred times a day.
They get wiped down, bumped, and occasionally slammed. Wall paint just doesn’t hold up to that.
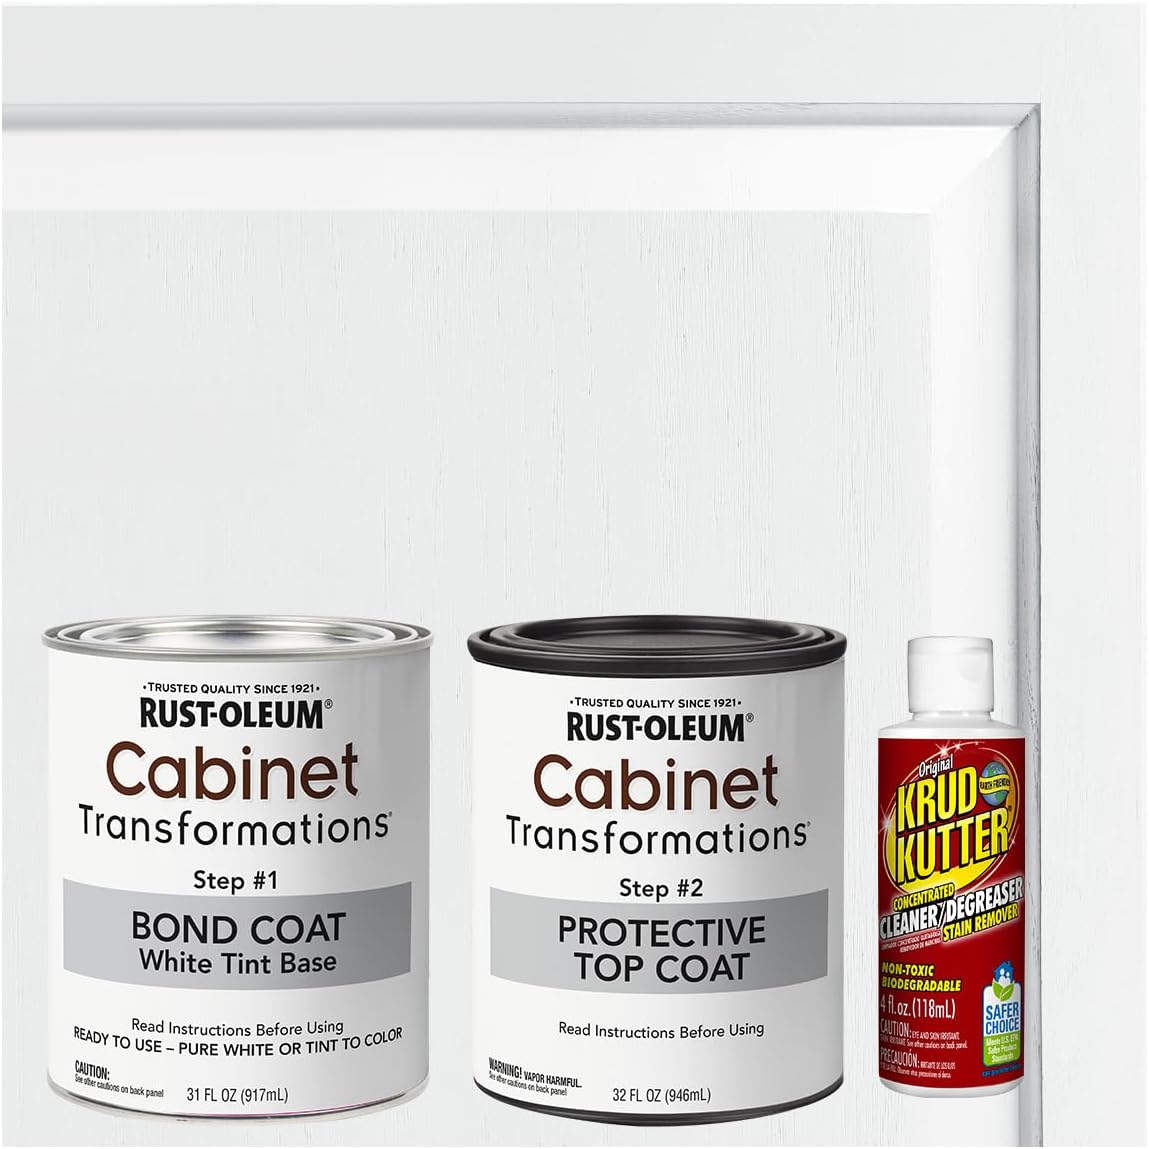
The two options that consistently come out on top for budget DIY cabinet jobs are the Rust-Oleum Cabinet Transformations Kit and General Finishes Milk Paint with a topcoat.
They solve different problems.
The Rust-Oleum kit is what I’d recommend to someone who has never painted cabinets before.
It comes with a deglosser, bond coat, and protective topcoat all in one box; you’re not guessing what to buy separately.
The deglosser means you don’t have to do heavy sanding, which is the most intimidating part for a lot of people.
Multiple people in my community have used this specifically on rental kitchens and older laminate cabinets, and it holds up without chipping.
General Finishes Milk Paint is a step up if you’re comfortable doing a little more work.
You’ll need a separate protective topcoat, but the finish is noticeably richer and more durable over time.
The casein proteins in milk paint actually get stronger as they cure, so a well-sealed milk paint cabinet can hold up beautifully for years.
A few people in my community who did their kitchens three-plus years ago using this method say they’ve barely had to touch them up.
The tradeoff is that you need to buy the topcoat separately, which adds cost and a step to the process.
Chalk paint is popular, and it looks beautiful. But for kitchen cabinets specifically, it needs a really thorough sealing step, or it will scratch and scuff faster than you’d like.
If you go chalk paint, please don’t skip the wax or a polyacrylic topcoat.
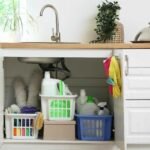
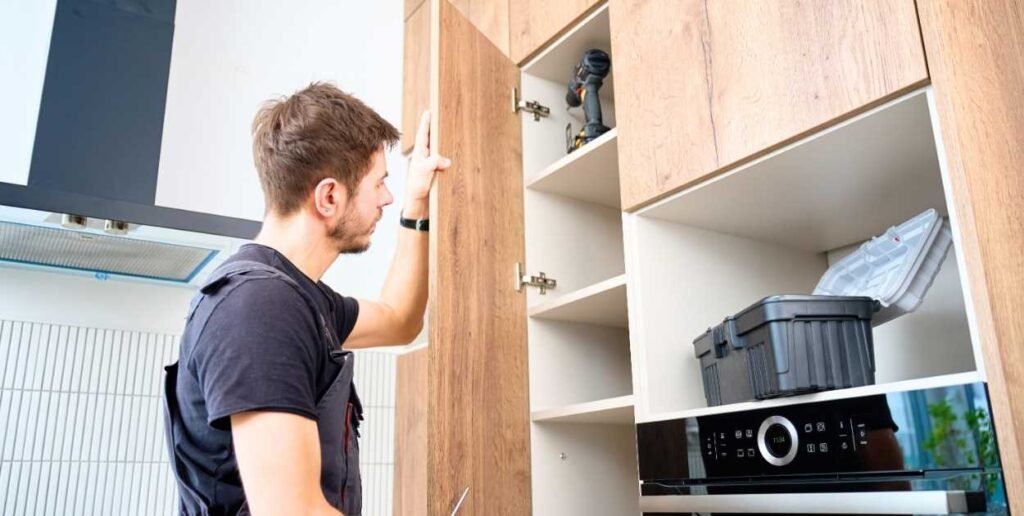
Prep Is the Part People Skip and Then Regret
I’ll be straight: the prep is boring, and it takes longer than the actual painting.
But every person in my community who’s had a cabinet paint job fail will tell you it came down to bad prep, not bad paint.
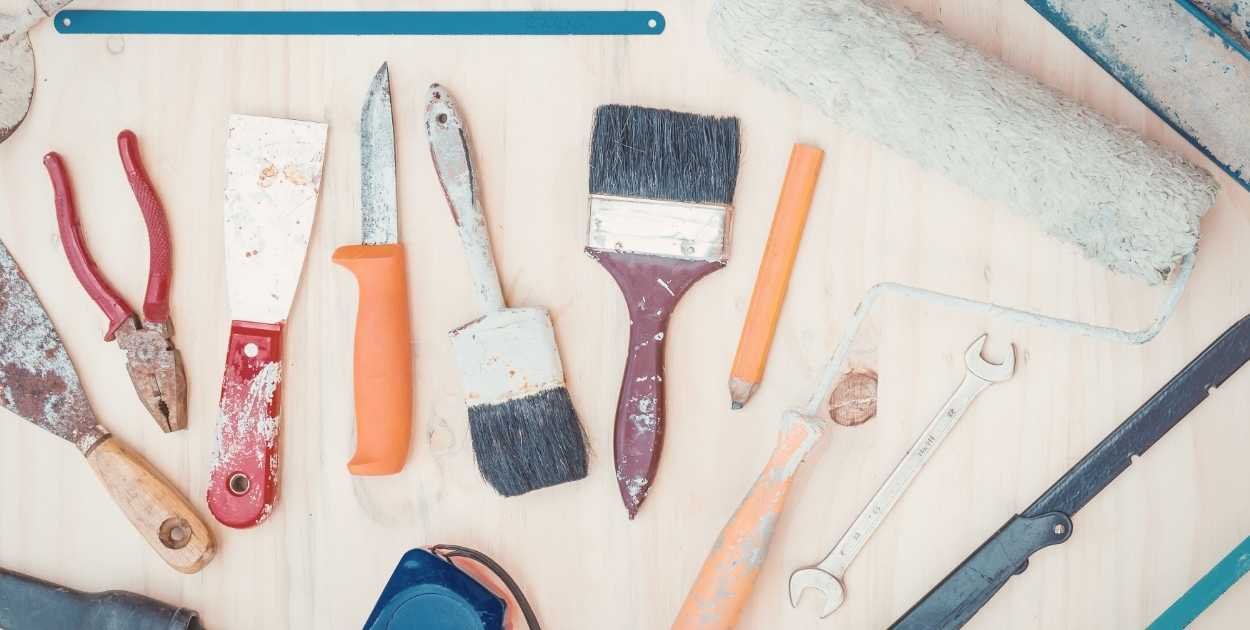
The basics that matter most:
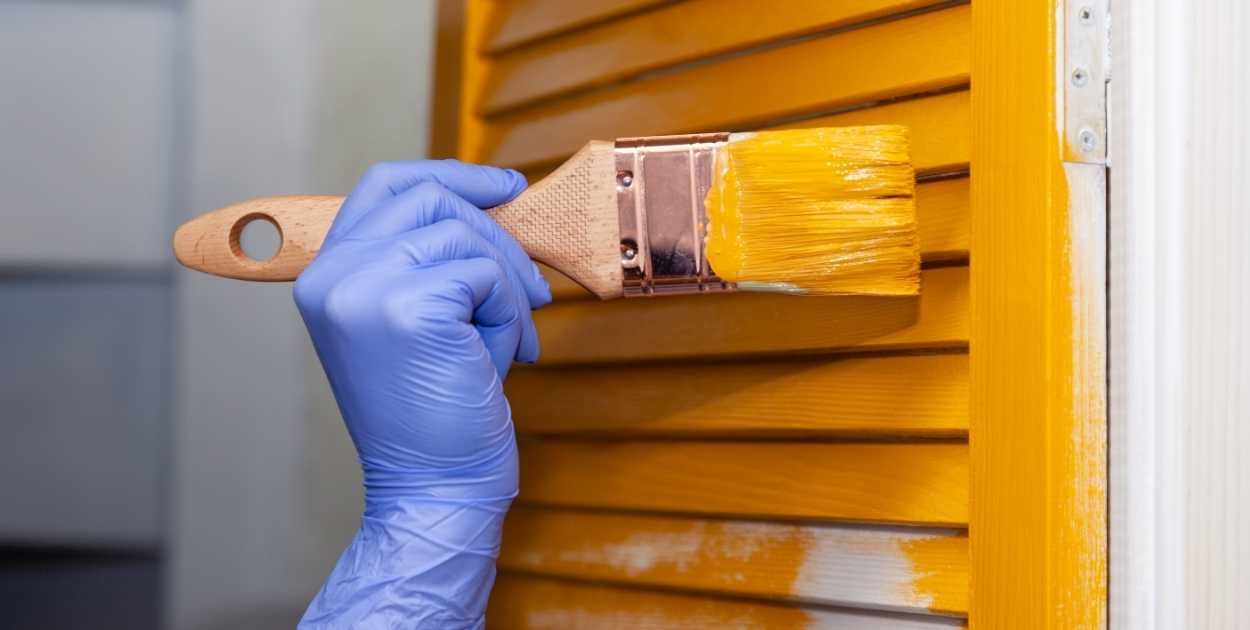
- Remove the doors and hardware before you start. Painting around hinges looks messy, and the paint edges chip faster.
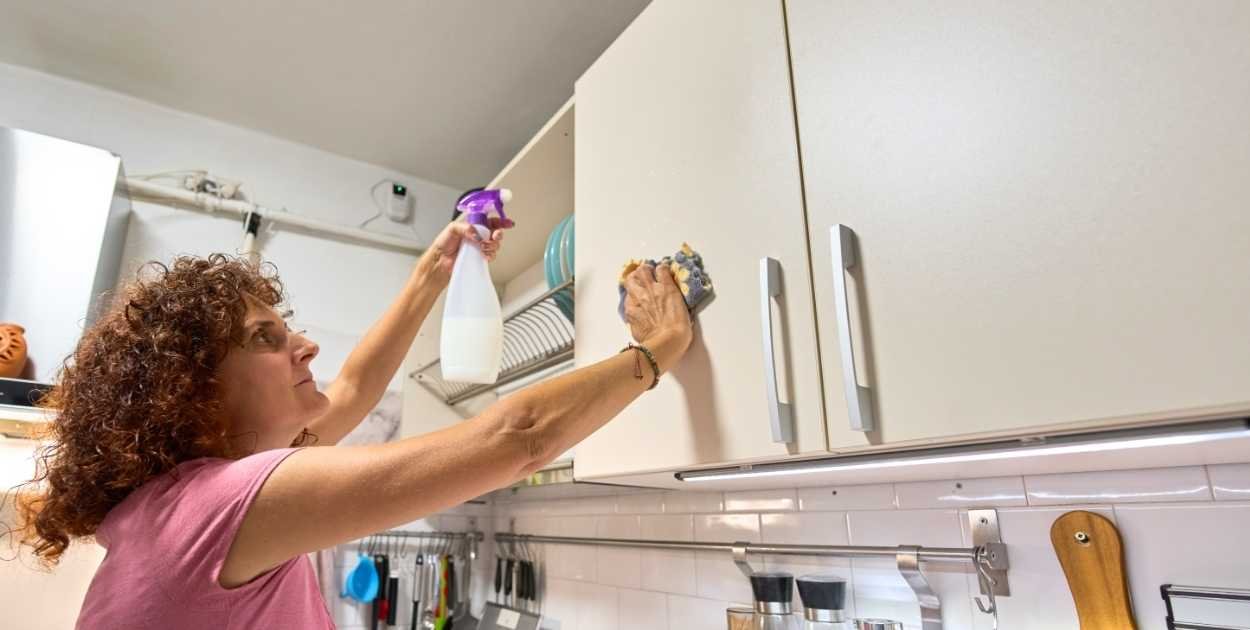
- Clean every surface with a degreaser first. Kitchens have grease buildup even when they look clean. Paint won’t stick properly over it.
- Use a deglosser or lightly scuff with 220-grit sandpaper. You’re not stripping the cabinet, just giving the paint something to grip.
- Wipe everything down again after sanding. Dust is paint’s enemy.
If you’re using the Rust-Oleum kit, the deglosser it comes with handles most of this.
If you’re going the milk paint route, a quick light sand and a degreaser wipe-down is usually enough.
One thing worth getting if you’re painting cabinet doors flat is painter’s pyramids.
They’re small plastic stands that elevate the door off the surface so you can paint both sides without waiting for one to fully dry.
Small thing, but people who’ve used them say they cut the project time noticeably. You can grab a pack for about $8 on Amazon.

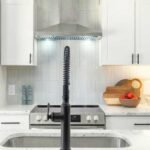
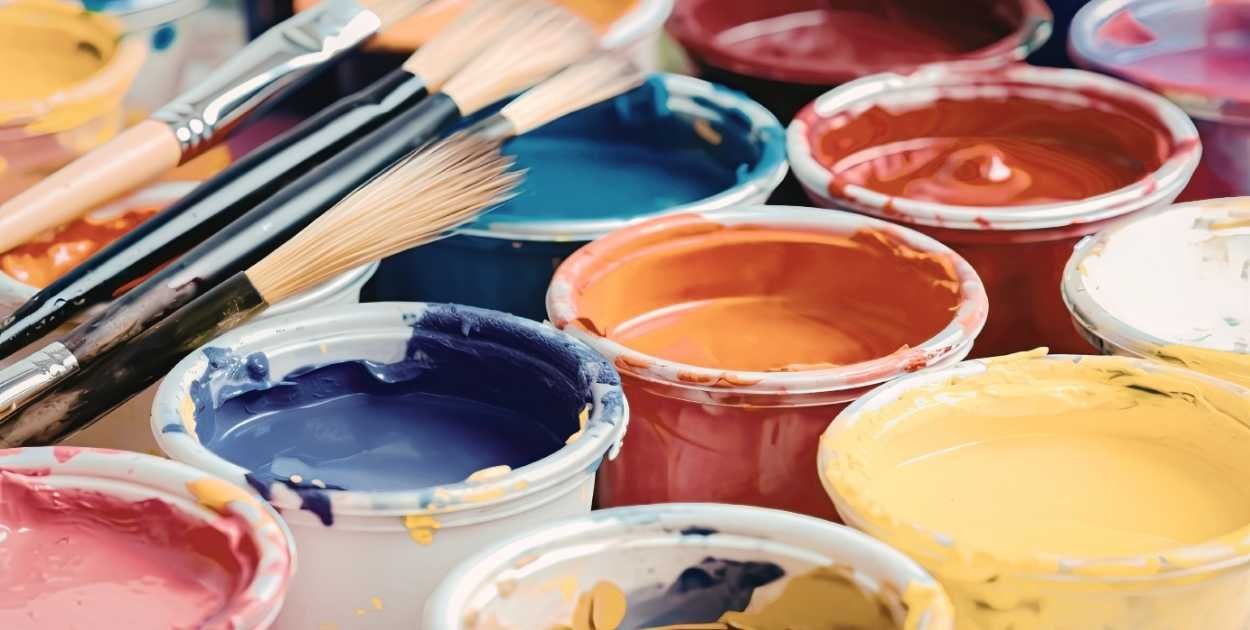
Color: What Actually Works vs. What Looks Good on Pinterest
Pinterest colors and real kitchen lighting are two different things.
A color that looks soft sage online can look greyish-green under fluorescent kitchen lights.
A crisp white can look stark against warm wood floors.
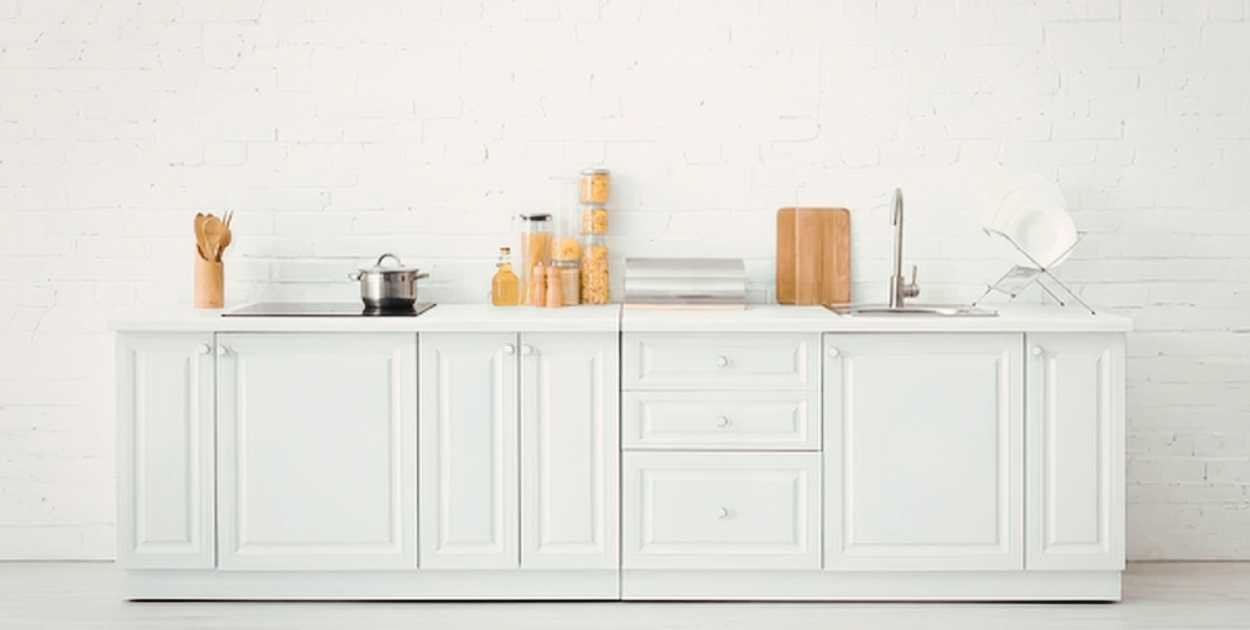
What works reliably in most kitchens: Whites, off-whites, warm greiges, and soft greys.
These are popular for a reason: they’re forgiving, they make small kitchens feel bigger, and they hold up to being repainted years later without the color history showing through.
If you want something a bit more interesting, soft navy and muted sage have been showing up more, and the communities I’m in are largely happy with them.
The practical tip: if you’re using General Finishes Milk Paint, order a pint first and test it on a cabinet corner.
The colors look very different on a cabinet than on a computer screen.
Rust-Oleum’s kit colors can usually be mixed at a hardware store, which gives you more flexibility.
Also, if you’re going from dark cabinets to a lighter color, budget for an extra coat.
Going from dark-stained oak to a creamy white usually takes two solid coats minimum, sometimes three.
Plan for that so you’re not halfway through and running out of paint.
Topcoat: Non-Negotiable If You Want It to Last
This step gets skipped more than any other, and it’s the one that determines whether your paint job lasts two years or five-plus.
If you’ve used the Rust-Oleum kit, the topcoat is included.
Apply it in thin coats and let it cure fully.
The kit recommends seven days before using cleaning agents on the cabinets.
This is not an exaggeration; the paint can look and feel dry but not be fully hardened yet.
People who’ve cleaned their cabinets two days after painting and then wondered why the finish looks dull or soft skipped this wait time.
If you’ve used chalk paint or milk paint separately, you need a water-based polyacrylic or a good furniture wax.
Will It Actually Hold Up?
This is the question everyone asks. The short answer: yes, if you did the prep right and sealed it properly.
People in my Facebook group who used General Finishes Milk Paint with a topcoat three to four years ago are reporting very minimal wear.
The Rust-Oleum kit group is similarly happy, especially on laminate, where traditional paint tends to peel.
Chalk paint without a good sealant is the one that tends to show wear faster, but sealed chalk paint holds up fine for light to moderate use.
The cabinets that failed were almost all cases where the surface wasn’t degreased properly, or someone used a wall paint, or they skipped the protective coat.
The paint itself isn’t the problem in those cases.
One realistic thing to know: Even a well-done paint job on high-traffic lower cabinets will show some wear near the handles over two to three years. That’s normal.
The nice thing about milk paint is that touching up with the same paint is easy and blends naturally.
Final Thought
An $80 cabinet paint job is not a shortcut. It’s a legitimate option that a lot of people have done and been happy with for years.
The prep matters, the paint choice matters, and the topcoat matters.
Get those three right, and you’ll end up with a kitchen that doesn’t feel like it belongs in a different decade.
If you’re on the fence, the Rust-Oleum Cabinet Transformations kit is the lowest-risk way to start, especially if you’ve never painted cabinets before.
If you want a more polished finish and you’re willing to do a bit more work, General Finishes Milk Paint with a satin topcoat is worth the extra effort.
Either way, it’s one weekend and less than a hundred dollars to find out what your kitchen could actually look like.
FAQs
Do I really have to remove the cabinet doors, or can I just paint them in place?
Technically, you can, but the edges and corners will be uneven, and the whole thing will look more amateur.
Removing them takes maybe 30 minutes and makes a huge difference in the result. Worth it.
What if my cabinets are laminate, not wood? Will paint even stick?
Yes, with the right prep, a deglosser is your best friend on laminate.
The Rust-Oleum Cabinet Transformations kit is specifically cited by a lot of people for working on laminate without peeling. Just don’t skip the deglossing step.
How long does the whole thing actually take?
Most people do it over a weekend, day one: remove doors, clean, degloss or sand, let dry.
Day two: first coat on everything.
Day three (or end of day two): second coat.
Then, a few days of light use before full cure.
If you’re doing a full kitchen with 20-plus doors, give yourself two full weekends to not rush it.
Can I paint over cabinets that were already painted before?
Yes, lightly sand or degloss, clean well, and you’re fine.
The key is checking that the existing paint isn’t actively peeling or bubbling. If it is, you need to strip that area first, or your new paint will just follow the same failure.
Abraham is the creator of Mountain Bike Insider. He is a writer and researcher who enjoys mountain biking, working on DIY projects, organizing spaces, and testing ideas in real life. He focuses on clear and honest explanations based on experience and research, without pretending to be a professional expert.