
Peel-and-stick backsplash tiles genuinely look like real tiles. And I’m not just saying that because it’s a nice thing to say.
About a year ago, my uncle walked into the kitchen, looked at the backsplash, and said wow, those are nice tiles, must have been expensive?
I had to tell him, no, uncle, that’s not the actual tiles.
That’s peel-and-stick from Amazon. He didn’t believe me at first.
That was in my old rental home, a few years back. My mother actually sent me the Amazon link, I ordered it, and we put it up together.
She had done her research, picked the pattern she liked, and made the right call. It looked clean, it looked finished, and nobody who came over questioned it.
So if you’re wondering whether these things work, they do.
But there’s a difference between the ones that fool people and the ones that look like stickers on a wall.
That difference comes down to what you buy and how you put it up.
What Makes Some Look Real and Others Look Fake
The cheap ones… the very thin vinyl rolls or flat printed sheets, as they don’t have any depth.
Light hits them evenly across the whole surface and they read as flat.
Which they are.
You can also feel them flex if you press near the edge, and that’s a giveaway.
The ones that actually fool people have a raised texture.
The grout lines are slightly recessed, the tile faces aren’t all the same flat shade, and some have a matte finish that behaves like ceramic under light.
That small amount of dimension is what makes the eye read it as real tile instead of a printed sheet.
Material matters too, thick PVC panels feel solid when you press them.
They don’t give, cheap vinyl does, and you notice it near corners and cut edges especially.
Which Styles Are the Easiest to Pull Off
Not every style has the same chance of looking convincing, some are just easier to get right.
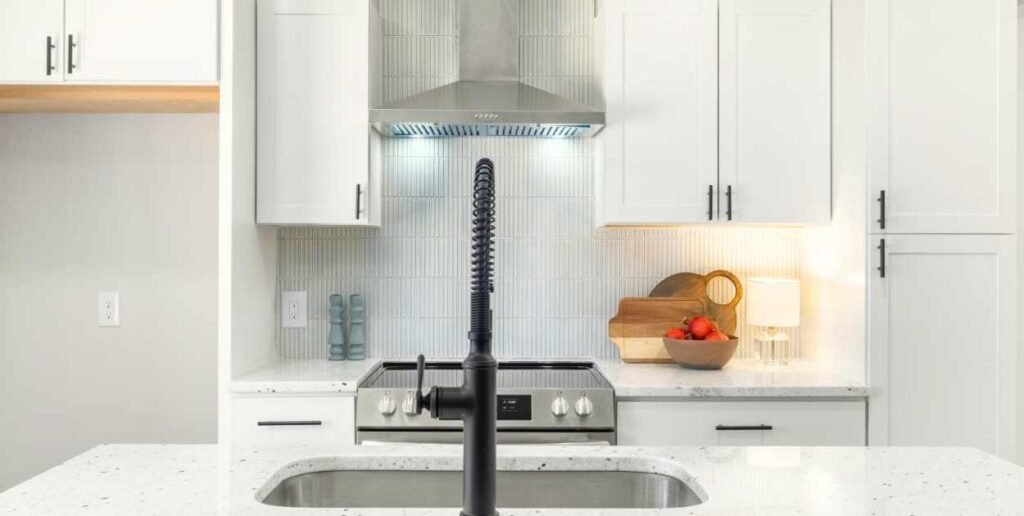
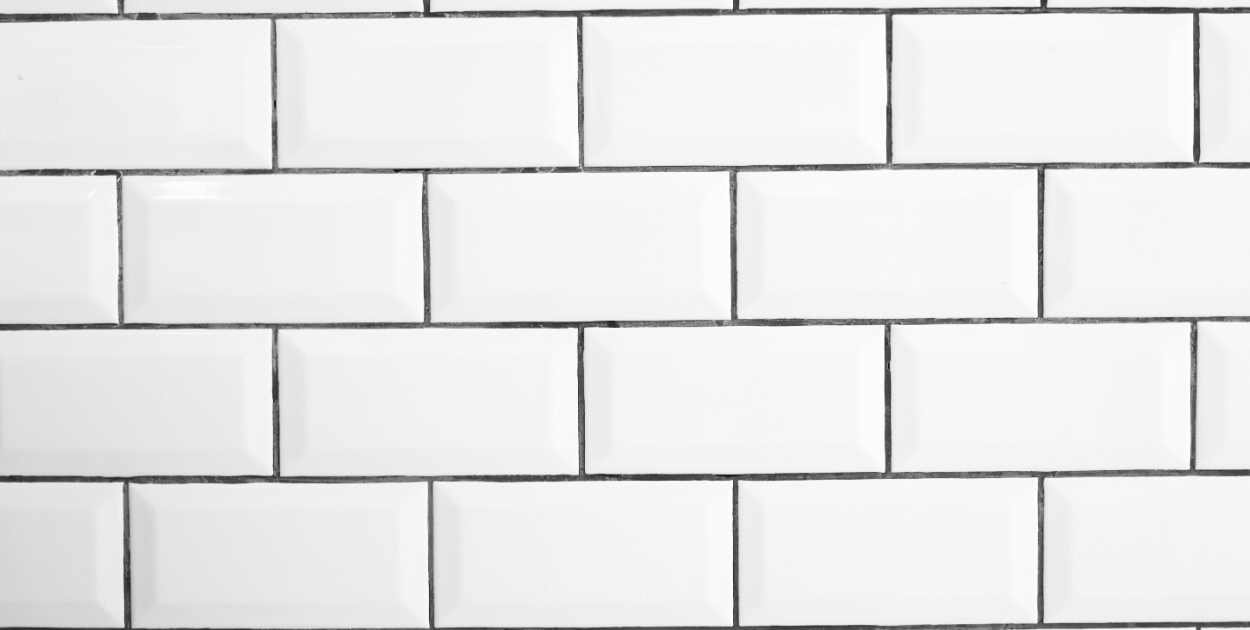
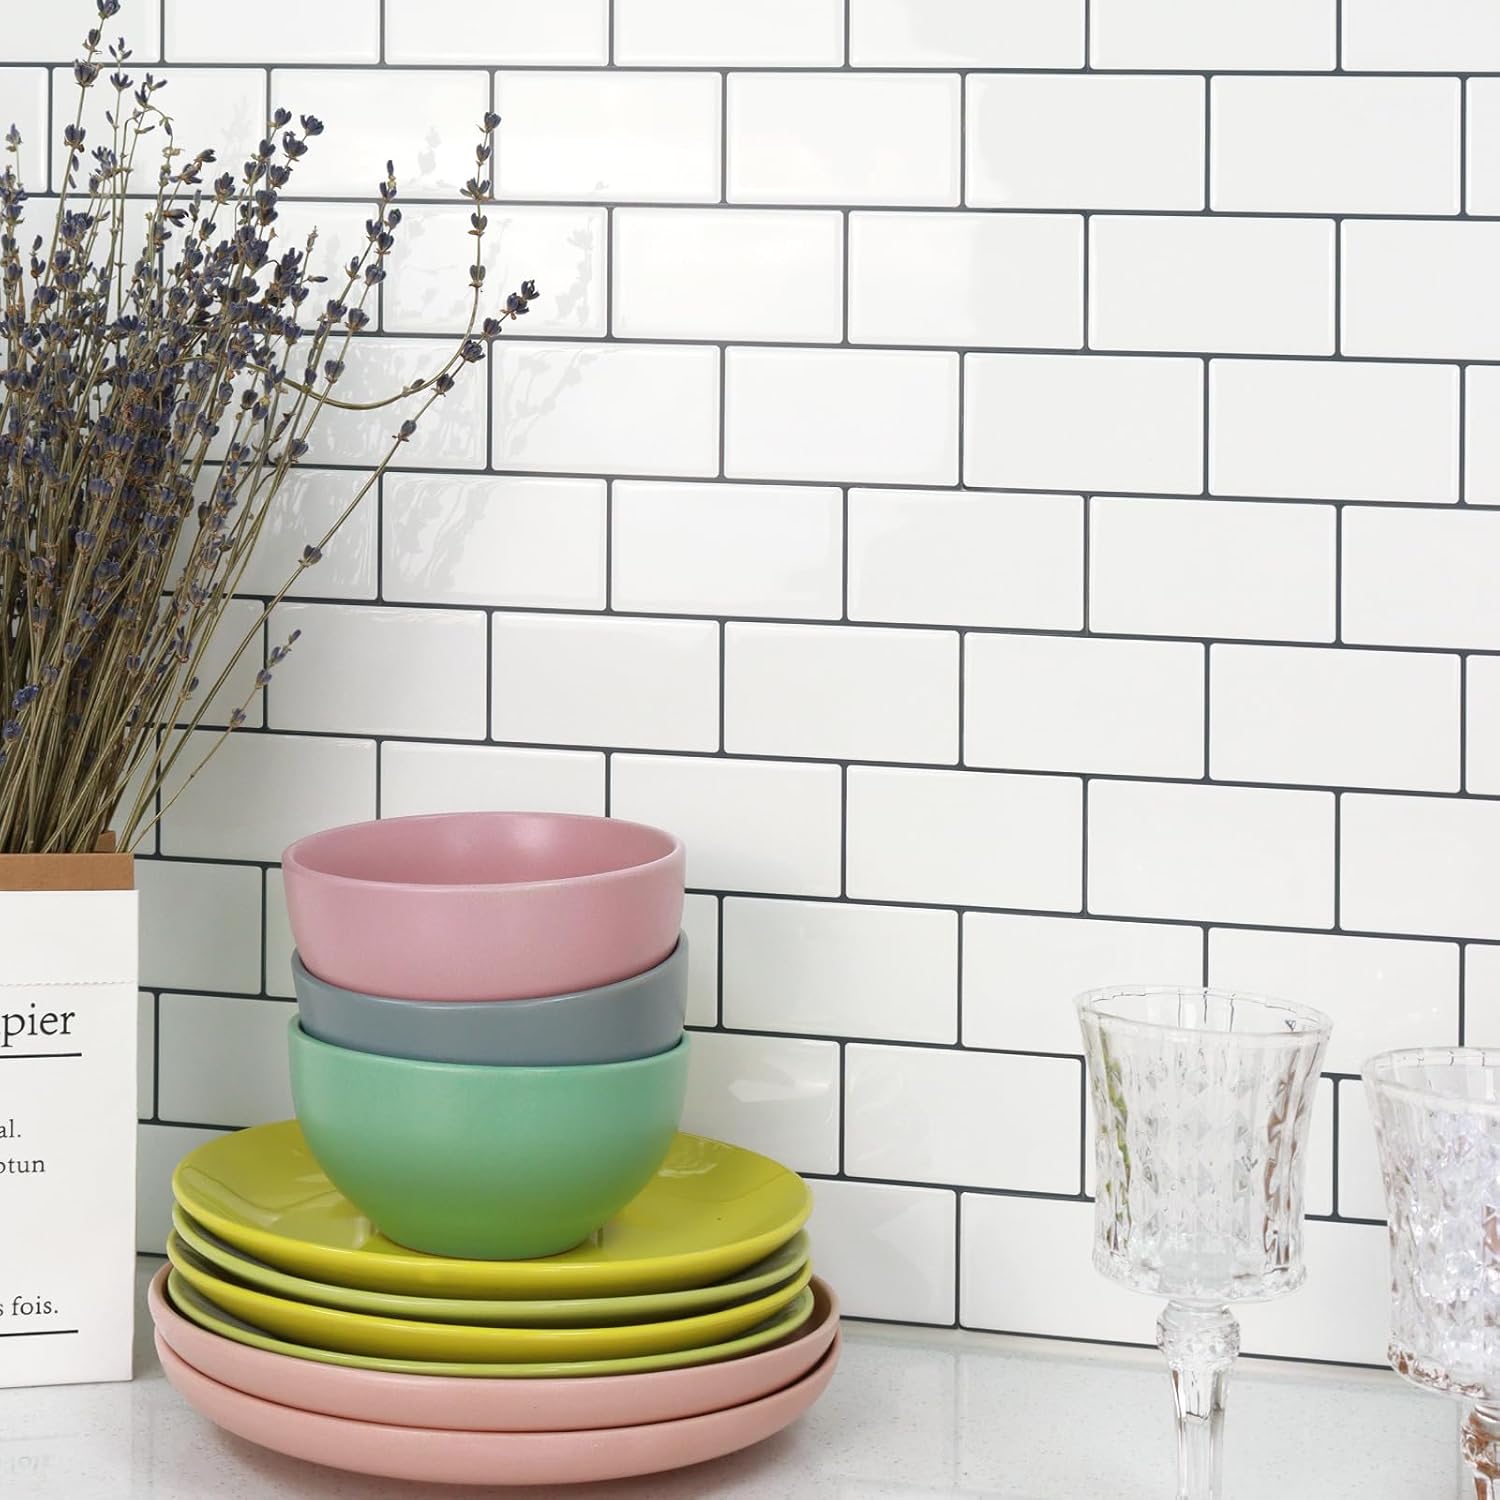
- Subway tile: the most forgiving. Simple rectangular layout, clean grout lines, no complex texture needed. A white or off-white subway peel-and-stick is genuinely hard to call from a few feet away.
- Marble look: It works well if the veining varies across tiles. The cheap versions repeat the same print on every tile and it shows. Better ones vary it slightly so each piece looks different.
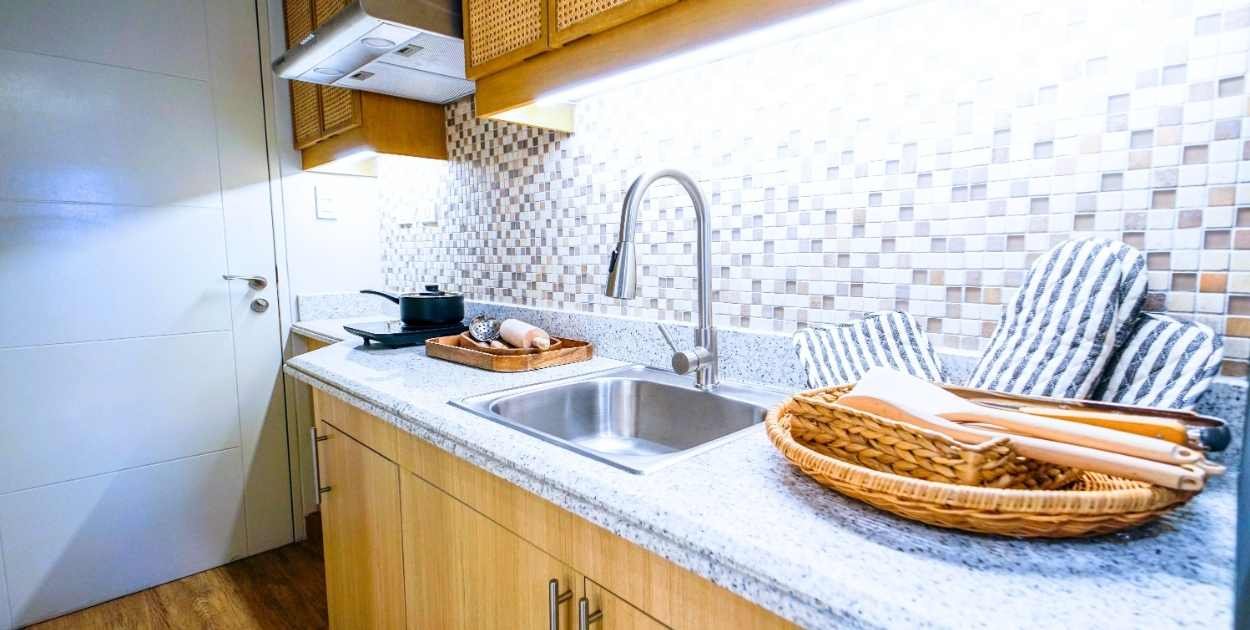
- Stone or slate mosaic: Very convincing because there are so many small pieces, the eye doesn’t have time to study any single one.
- Metal mosaic: Brushed silver or bronze finishes look surprisingly good in kitchen lighting.
- Wood grain: Hit or miss. A 3D textured version can work. A flat printed one looks like a laminate floor stuck to a wall.
My mother went with a subway pattern. It matched the cabinets, the grout look was already built in, and nothing about it said temporary.
That’s the one my uncle mistook for the real thing.

Prep the Wall First, This Is the Part People Skip
Most of the “mine fell off after two weeks” stories come from skipping this.
The adhesive on good tiles is strong but it needs a clean, dry surface to actually bond. In a kitchen, there’s almost always a thin layer of grease on the walls near the stove, invisible but there.
That film stops the adhesive from gripping.
Wipe the wall with a degreaser before you do anything else.
Dish soap works if that’s all you have, but something like Krud Kutter cuts through better.
Wipe it dry and let the wall sit for an hour before putting any tile up.
If you’re going over existing tiles, which is what we did, that’s actually a good surface for peel-and-stick.
Glazed ceramic holds adhesive well.
Just make sure the old grout lines aren’t too raised or the new tile won’t sit flat.
If you’re going on painted drywall, it’ll stick fine, but know that when you remove the tiles later the paint may come with them, especially if it’s an older coat.
Putting Them Up Without the Common Mistakes
Start from the center of the wall, not the corner.
Corners look like the logical starting point but walls are almost never perfectly square.
If you start from a corner, the offset builds across the wall and by the end it looks crooked.
Find the center, draw a level horizontal line with a pencil, and build outward from there.
When you’re pressing each tile, start from the middle and push outward toward the edges.
This moves any air toward the outside rather than trapping it in the middle.
If a small bubble forms, you usually have a minute or two to lift the edge gently and re-press, the adhesive on better tiles allows for that.
For cutting around outlets or cabinet edges, a sharp box cutter and a metal ruler is enough.
Mark with a pencil, score a few times firmly, and snap.
The thicker tiles take more passes but give a much cleaner cut edge than the thin ones.
A small bubble level is worth having, not just eyeballing it.
Once your first row is perfectly level, every row after it stays straight.
Without it, the drift creeps up and you don’t notice until you step back and look at the whole wall.
Near the Stove, What to Know
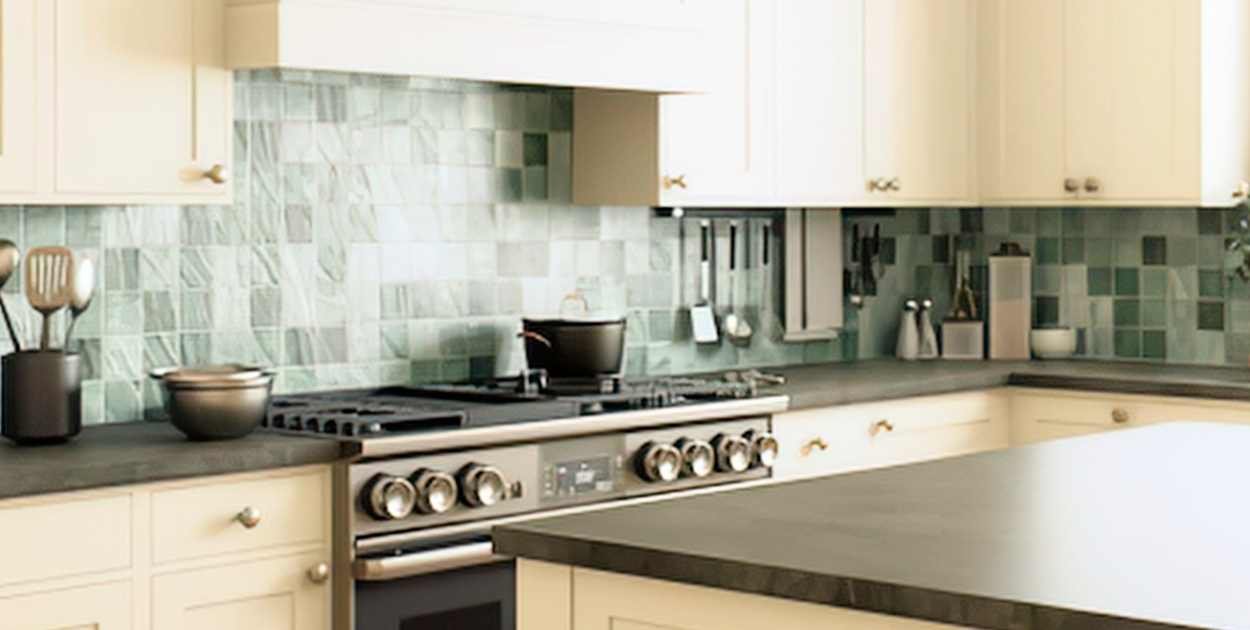
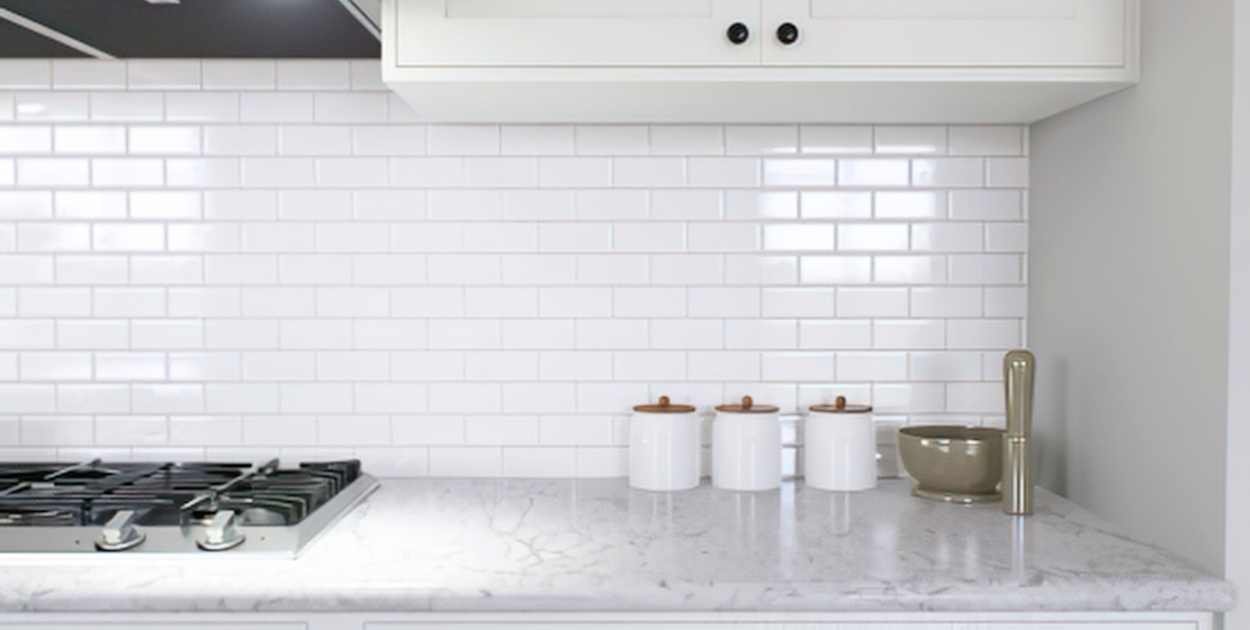
Most peel-and-stick tiles handle normal kitchen heat fine, that means general cooking, steam, splatter.
Where things can go wrong is directly behind the burners on a gas stove. Sustained high heat softens adhesive over time, and the tile will start to lift at the edges.
If you have a gas stove, don’t run the tiles all the way down to burner level, leave a few inches of clearance.
That gap usually sits behind the stove body anyway and you won’t see it.
For electric stoves it’s less of a concern, but it’s still worth looking for tiles labeled heat-resistant if you’re going close to the range.
If you want something that can sit right behind the burners without any worry, a metal mosaic option handles heat much better than the standard PVC panels.
How Long Will It Actually Stay Up
In a bathroom or low-traffic wall, easily a few years, no issues.
In a kitchen with regular cooking and cleaning, the honest answer is it depends on maintenance and which tiles you bought.
The tiles from my old rental home stayed up the whole time I was there.
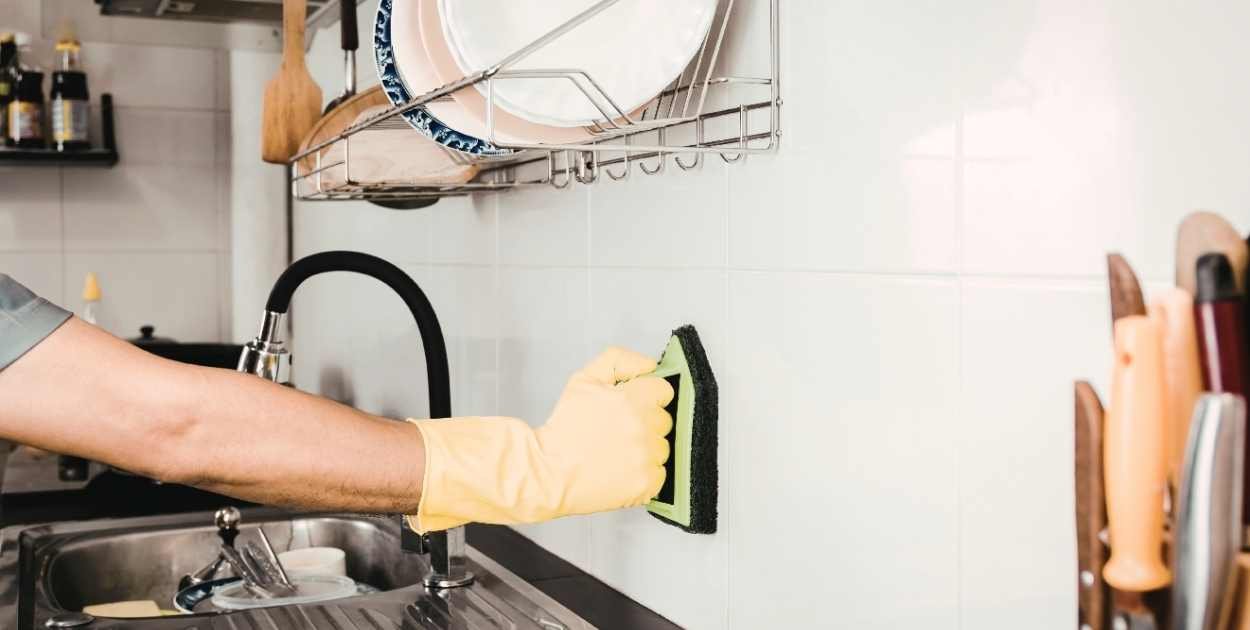
We wiped them down with a damp cloth regularly and didn’t scrub them with anything abrasive.
The surface stayed clean and the adhesive never moved.
When I eventually moved out, they were still perfectly in place.
What shortens the lifespan is letting water pool at the seam edges for long periods, or using rough scrubbing pads that lift the edges over time.
Clean them the same way you’d clean any tiled surface, damp cloth, mild cleaner, no soaking.
Right now we’re actually talking about doing it again in the home we’re in currently.
My uncle, the same one who thought the old kitchen was real tile, is also looking at doing it in his place.
He hasn’t bought anything yet, still discussing it with his family, but the fact that he wants to do it himself after seeing it in person is probably the best endorsement I can give.
Questions People Usually Have
Can I put peel-and-stick tiles directly over existing tile?
Yes, and it’s actually one of the better surfaces for it. Glazed ceramic holds the adhesive well.
Just make sure the old tiles are clean and the grout lines aren’t too raised, if there’s too much unevenness, the new tile won’t sit flat.
Will it damage the wall when I take it off?
On a solid, well-painted wall it usually comes off clean, especially if you warm the adhesive with a hair dryer first and peel slowly.
On older walls with flaking paint, there’s some risk. If you’re in a rental, test one tile in a small corner and check it after a week before doing the whole wall.
What’s the real difference between the cheap and the slightly more expensive ones?
Thickness, texture, and adhesive strength. The very cheap ones are flat and feel like stickers.
The better ones have actual depth, the adhesive is noticeably stronger, and they look convincing once they’re up.
For anything you want to look like real tile, the few extra dollars per sheet makes a clear difference.
There are so many patterns on Amazon — how do I pick?
Honestly, it’s personal. That’s one of the better things about peel-and-stick, you’re not locked into whatever the tile store has in stock.
My mother browsed Amazon, found the pattern she liked, sent me the link, and that was it. Subway and mosaic styles tend to be the most forgiving if you’re not sure.
Marble looks great but make sure the listing photos show the veining variation, not just one tile repeated.
Final Thought
Peel-and-stick backsplash tiles work when you buy something with real texture, prep the wall properly before sticking anything, and take a few minutes to get the first row straight.
Do those three things and the result is genuinely hard to tell apart from real tile.
My uncle is still talking about doing his own kitchen.
That’s how these things spread, not from a blog post, but from seeing it with your own eyes and thinking it’s the real thing.
Abraham is the creator of Mountain Bike Insider. He is a writer and researcher who enjoys mountain biking, working on DIY projects, organizing spaces, and testing ideas in real life. He focuses on clear and honest explanations based on experience and research, without pretending to be a professional expert.