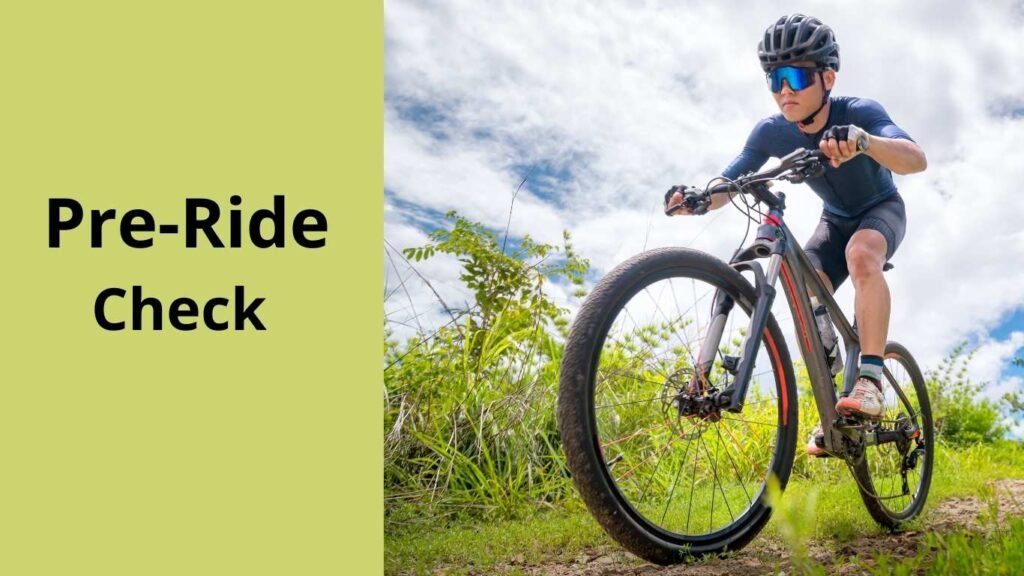
Before you hit the trails or road, it is important to consider a pre-ride checklist for mountain biking. Trails don’t care how good a bike rider you are as long as you don’t check some necessary things on your bike before a ride.
Bike preparation is important to ensure your safety and comfort. You want to bring some important things like a hydration pack to avoid dehydration and check many other things. So that you don’t get in trouble in the mid-journey as this will ruin your ride.
In this post, I have shared a pre-ride checklist to cover every trail.
Also read: Best trails and destination in the USA
Mountain Bike Pre-Ride Checklist
Here are 10 things you should check before taking your bike for a ride.
1. Check Your Bike Tires
Your tire pressure is the most important thing that you want to look up to. The pressure shouldn’t be too much or too little. Also, it depends on where you want to ride.
For example, on technical terrains, you’ll need tire pressure between 18 and 25 PSI. On the other hand, for smooth trials, your tire pressure needs to be around 30-35 PSI.
What to do:
Check tire pressure: You want to use a gauge and make sure there is suitable pressure in your bike’s tire depending on your body weight and terrain type.
As mentioned before, you can have 18-25 PSI for technical terrain, as lower pressure provides more traction and control.
For smooth terrain, you will need tire pressure of 30 to 35 for better speed and to avoid rolling resistance.
Inspect for wear and damage: You also want to look for any cracks or tears on your tire. It can also cause problems during the ride. So, you can not ignore it.
Verify tubeless sealant: If you ride tubeless, then you want to shake your wheel and confirm the sealant is there. If it sounds dry, then it’s time to refill it.
Also read: How to fix flat mountain bike tire on trail
2. Test Your Brakes
It can be scary if your brake doesn’t work during the ride. That’s why Checking break is another crucial pre-ride check of your mountain bike.
What to do:
Squeeze brake levers: You want to make sure that your bike’s front and rear brakes work properly. They shouldn’t feel like spongy. If they do, then you need to fix it before the ride.
Inspect brake pads: You should also look at pads for wear and ensure they are not less than 1.5mm thick; if they are, then you need to replace them.
Check for alignment: You also want to ensure that the bike’s rotors are not rubbing against each other. To check that, you can spin your bike’s wheel. If rotors are not perfectly aligned, they will make noises.
3. Inspect the Drivetrain
Your bike’s drivetrain needs to be well-maintained, as you cannot even imagine a good ride without it. That’s why make sure your drivetrain is clean and well-maintained for a smooth ride.
What to do:
Clean and lube the chain: You want to use dry or wet lubricant, depending on what type of trail you want to ride on and what the condition is. Besides this, you need to wipe off extra lube from the chain to prevent dirt.
Check chain wear: You want to use a chain checker tool and make sure the chain is not too stretched; it can cause premature wear on your cassette and chainrings. If it does happen, get ready to pay money to replace it.
Test shifting: You want to run through all the gears to make sure they are working properly. You are not feeling problems while shifting them.
If the chain is skipping or you’re having trouble shifting, it means there is a problem with your bike’s cable tension, derailleur alignment, or even chain wear.
Also read: How to lubricate and maintain your mountain bike Chain (Complete guide)
4. Tighten Bolts and Components
You also want to make sure that all the bolts and components are tight. If they are not, then they can cause cracks, poor performance, or even crash.
What to check:
Stem and handlebars: Ensure that your bike’s handlebars are secure and they do not twist under pressure.
Pedals and cranks: You can spring crank and wiggle your pedals to make sure they are tight.
Seatpost: You want to make sure the saddle is in the right place, depending on your height and inseam length.
Pro tip: You can also check your bike’s user manual for more settings.
5. Inspect Suspension Settings
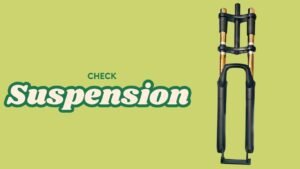
The bike suspension is very important. You want to make sure it is working properly and can bear your weight, depending on the trial condition. You can set the setting.
What to do:
Check sag: First of all, sit on your bike and check the suspension sag. They need to be around 20-30% sag. It is good for most trials.
Adjust rebound and compression: You want to adjust your suspension depending on what type of trial you want to ride; for example, rebound for a smooth trial and slower for a technical trial.
Look for leaks: You can also inspect fork and rear shock seals and make sure there is no leakage problem to save your oil and avoid dirt buildup.
6. Pack Essential Tools and Spares
You never know what can happen on the trail, especially when you are riding the whole day or covering longer distances. That’s why you want to carry some tools and spare parts.
What to carry:
- Multi Tool with hex
- Wrenches and chain breaker
- Spare tube
- Tire and a mini CO2 insulator,
- Tubeless repair kit
Also check: Essential gear for mountin biking
7. Hydration and Nutrition
If you don’t want to feel tired, then you should always carry some nutrition like snacks and a hydration pack.
When your body is properly hydrated, you can perform better because dehydration or lack of energy can make you feel cramped. During the mid-journey, it’s just very frustrating to feel tired.
What to do:
Hydration: First of all, you need to have a hydration pack or a water bottle, and you need to fill it up depending on how long you are going to ride.
If you are going for a whole day during the summer season, you can even carry two water bottles.
In my opinion, you need to have water even if the ride is longer than one hour. Besides this, you can also add some electrolytes to your water.
Snacks: You can carry energy bars, gels, sandwiches, snacks, etc. Especially for longer routes.
8. Dress based on the trail Conditions
Weather conditions can change drastically, so first of all, you want to make sure you know where you are going to ride and, depending on the trail condition, how you want to dress.
For example, if there is a chance of rain, you can carry a waterproof jacket. Or if you see, there is a little bit of heat during noon, but in the evening, the weather will get chill, so you can carry an extra layer of clothes to protect yourself.
What to check:
Helmet: It is the number one thing you want to make sure your helmet is not even slightly damaged. If it is, then replace it as soon as possible.
Clothing: You can wear a moisture-wicking layer. And besides this, you can also bring some lightweight jackets to protect yourself from rain and cold weather conditions, as I mentioned before as well.
Shoes and gloves: Shoes are really important for a comfortable ride. Besides this, you also want to have gloves for better grip and hand protection.
Also read: What to wear for Mountain biking
9. Check Your Lights and Navigation
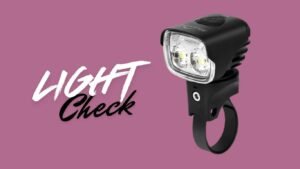
You first want to make sure where you are going, and depending on that, if you know that you will have to ride in low light conditions, you need to carry a headlight for your bike.
What to do:
Bike lights: Make sure your light is fully charged, the front light is working properly for visibility, and the rear light is for safety.
Navigation tools: You can carry a spare GPS device or simply download Google Maps from your phone.
Most importantly, you should also download maps offline because, in some places, you may not get a good internet connection. And if you are traditional, you can also have a paper map.
10. Plan Your Route and Let Someone Know
It is for your safety. You always want to make sure somebody knows, especially someone who is close to you, like your mother, a buddy, sister, or somebody else, where you are going to ride and what your plan is.
What to do:
Route planning: Most importantly, you need to choose the trials which are suitable for your skill level. If you are a beginner, you shouldn’t go on technical trials which are designed for pro riders.
On the other hand, as a pro rider, you are free to go anywhere. Beginner, intermediate, and hard trails.
Communicate your plan: Tell any of your friends or a family member where you are going to ride and when you will come back home.
Emergency tools: If you are gonna ride in a remote area, then it’s good to carry a personal locator beacon or even a whistle.
Bonus Tip: Perform a Quick Test Ride
Okay, so now we have discussed mountain bike pre-ride checklists. So, once you know everything is done, you want to test a short ride around your street to make sure everything is working properly.
Most importantly, you want to check your bag and ensure there is a water bottle, extra clothes if needed, a GPS device, snacks like a protein bar, etc.
Conclusion
Mountain biking is one of the best hobbies that you can have. And it is very adventurous. But you want to prepare yourself before taking a ride.
Otherwise, it can ruin your day, too. Just imagine you are covering a 10 km area, and after reaching there, your bike’s tire gets flattened. How would you feel? If you do not have a tool or extra tube.
That’s why, for a safe ride, you want to carry some extra things, including a tube, a GPS device, snacks, and water bottles, and make sure the suspensions are working properly.
There is no problem with the bike’s brakes; the headlight is good.
The preparation will not even take 20 minutes. That’s why you always want to do it. But it can definitely save you hours of struggling.
How do I know if my mountain bike is ready for the trail?
The simplest method is to make a note and write everything one by one, like tires, brakes, drive train, suspension, snacks, water bottles, etc.
And after that, you need to check whether you have done all these things or not. If yes, then you need to check mark it. It is the simple way.
After that, you want to take a short ride in your locality before going on the main trail route. If you feel something wrong, then first get it done, and then go for a ride.
What should I do if I get a flat tire mid-ride?
If you’re riding tubeless, use a plug from your repair kit to seal the puncture. If the hole is too large or you’re running tubes, replace the damaged tube with a spare.
Always carry tire levers, a pump or CO2 inflator, and a patch kit for emergencies.
If you are riding tubeless and you get a flat tire during the ride, then you will need to seal the puncture, but only if the hole is small.
But if it is large, you may need to replace the tube with a spare tube. Therefore, you always need to carry a tire lever, a CO2 Inflator, and a patch kit for an emergency.

Ali is the founder of Mountain Bike Insider and an passionate rider with years of hands-on experience in mountain biking. From testing gear to exploring trails, Ali writes based on real riding knowledge to help others make smart, safe, and enjoyable biking choices. Every guide is built on research, personal use, and a passion for the sport.

