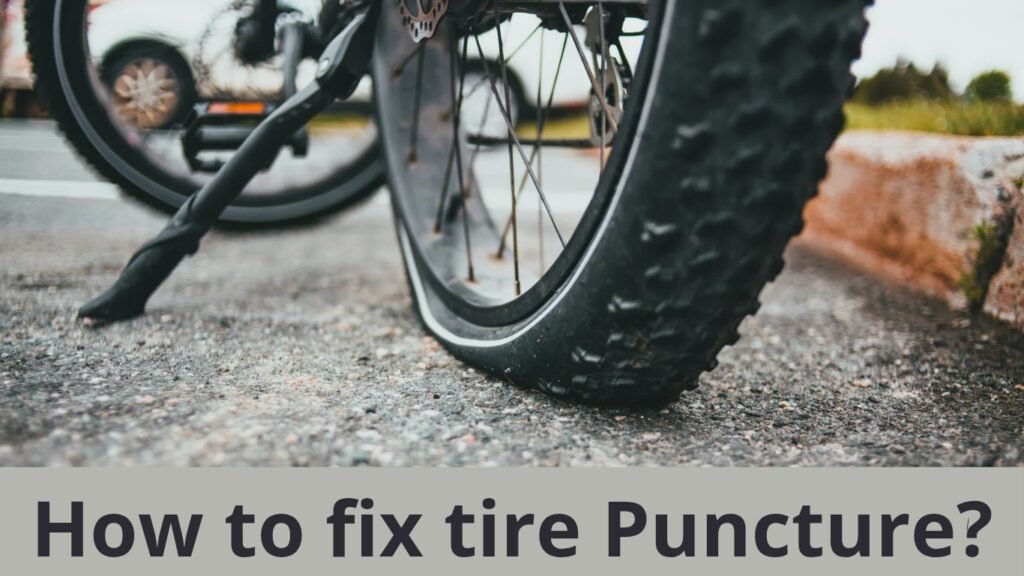
A flat tire is something that can completely ruin all of your fun. Flat tires on a mountain bike are even more frustrating when they happen miles away from home, with no bike shop nearby. In such cases, it is important to know how to fix a flat MTB tire.
In this guide, I will teach you step by step how to repair an MTB puncture, whether it’s a simple patch or a full inner tube replacement
How to Fix a Flat Mountain Bike Tire (Step-by-Step Guide)
Reparing MTB punctures is easier than you might think.
Whether you’re on the trail or at home, following these eight steps will get you back on your ride quickly.
Below, I’ll walk you through everything you need—from the essential tools to a step-by-step repair process.
Essential Tools to Fix a Flat Tire on Your Mountain Bike
You always want to have some tools to fix any puncture in your mountain bike.
On the other hand, if you go on a multi-day trip or a whole day trip, you should carry them in a backpack too. Here they are.
Spare Tube (or Tubeless Plug Kit): You will need a spare tube to replace a punctured inner tube or a tubeless plug to patch a mountain bike tire.
But if you want to temporarily patch a tubeless tire, you will need a tubeless plug.
Tire Levers: It’s a small tool that you can keep in your bag, but it is crucial to remove the tire from the rim whenever the tire is stuck or tight.
Mini Pump or CO2 Inflator: You always want to carry a pump to refill air after fixing a puncture in your bike.
Even if you don’t get punctured, you can adjust your mountain bike’s tire pressure based on trails or riding conditions, such as low pressure for muddy trails and high pressure when you want speed on smooth or simple roads.
Patch Kit (Optional): To patch up a tube temporarily, you need a patch kit. It is helpful to fix a minor puncture that doesn’t require a full tube replacement.
Multi-tool (Optional): You can also carry a multi-tool kit to remove your tire and fix a puncture. However, you can fix a flat tire without removing it.
Pro Tip: Keep these essential tools packed and ready at all times to ensure you’re never unprepared when a flat happens on the trail.
Also read: Mountain bike trail etiquettes, every rider needs to know
Step 1: Remove the Wheel
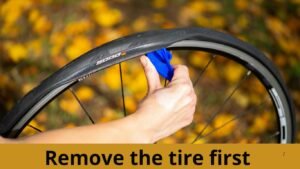
All bike have two wheel front and rear, and puncture can happen anytime.
Before you replace an inner tube or patch an MTB tire, you’ll need to remove the wheel:
Front Wheel:
- Shift into the smallest chainring (the gear closest to the wheel) to make it easier to handle the front wheel.
- Open the quick-release lever, or if your bike uses a thru-axle, you can also loosen it to free the wheel.
- After that, gently lift your mtb and remove the front wheel, making sure you’re not scratching the frame.
Rear Wheel:
Here is how you can remove the rear wheel to fix a puncture:
- Shift to the smallest cog on the cassette to reduce the tension in the chain.
- After that, Open the quick-release lever or loosen the thru-axle to release the rear wheel (similar to the front tire)
- Now you can remove the rear wheel by gently pulling back the derailleur slightly and slide the wheel out of the dropouts.
Tip: When you’re removing the rear wheel, make sure to lay the bike on its non-drive side to avoid damaging the derailleur.
Also read: MTB chain maintenance guide
Step 2: Deflate and Remove the Tire
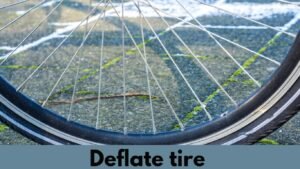
Once you have removed the flat tire from the bike, now you want to press the valve and let out the remaining air.
Different types of values and tips to remove air:
- If you are using a Schrader valve, just press it down on the valve core.
- If you have a Presta valve, then screw the valve cap, then press on the valve. It will release the remaining air.
Step 3: Remove the Tube or Inspect the Tubeless Setup
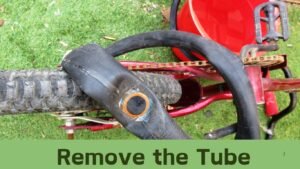
For Tubed Tires:
Once you have removed the tire and deflated the tube, carefully check for punctures, small leaks, cuts, or sidewall damage. And, mark the damage area which you want to patch.
For Tubeless Tires:
You need to find any visible punctures or cuts (sometimes, tubeless setups can also seal punctures automatically).
However, it only happens with a small puncture, but if there’s a large hole, you’ll need a tubeless plug kit.
So, how do we fix that?
You want to run your fingers or a cloth along the inside of your bike’s tire to feel for sharp things like thorns or glass (usually they cause another flat) but be careful not to cut yourself on sharp debris.
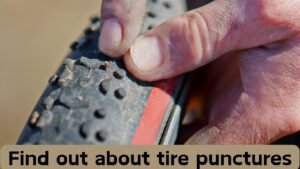
Pro-tip to find out about tire punctures:
If there is a puncture in your tube and you have removed it, but you do not know where the puncture is, then in this case:
- Blow a little air into the tube with the CO2 inflator’s help
- Take water in a tub or bucket.
- Now put that tube in the water.
- You will see bubbles coming from the punctured area.
By doing this, you can easily detect where the puncture is and then fix it.
Also read: Tips for regular mountain bike maintenance
Step 4: Repair or Replace the Tube
If You’re Using a Spare Tube:
- Fill a little air in a new tube, just enough so it holds its shape but isn’t fully inflated yet.
- Insert the tube into the tire, but make sure the valve is aligned with the hole in the rim.
- Work your way around the tire, ensuring that the tube is seated evenly and isn’t twisted.
If You’re Patching a Bike Tube:
- You want to locate the puncture by slightly inflating the tube and listening for escaping air or by using the same method that I discussed above (sinking the tube in a water-filled tub and looking for bubbles).
- After finding the punctured area, you want to dry the punctured area with a cloth.
- You can also use the sandpaper to roughen the surface around the hole for better adhesion.
- Apply the glue (if needed) from your patch kit.
- After that, wait for a minute or two before pressing the patch firmly over the hole.
- Let it cure for a few minutes before proceeding.
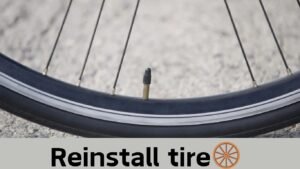
Step 5: Reinstall the Tire and Tube
- Now you want to reinstall the tire and tube, so first push the bead back onto the rim, starting opposite the valve, then work your way around the tire, but make sure it fits snugly around the rim.
- You can avoid using any tire levers while reinstalling the tire, as they can again pinch the tube and ruin all your hard work. Instead, use your hands to avoid damaging the tube during installation.
- Once the tire is seated and everything is fixed, check carefully around the tire to ensure the tube isn’t pinched between the tire and the rim.
Also read: Pre Ride Checklist for mtb riders
Step 6: Inflate the Tire
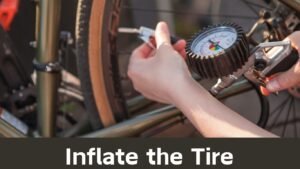
After fixing the MTB tire puncture and reinstalling the tube, it’s time to inflate the tire to the correct PSI.
Use a mini pump or CO2 inflator to get back on the trail quickly, here are steps you need to follow:
- Take a pump or CO2 inflator, attach it to the valve, and start inflating. Make sure to inflate it slowly, it will help the tire to seat properly on the rim.
- You want to inflate the tire in the right amount as recommended by the manufacturer or based on your body weight and riding conditions. However, generally 25-35 PSI is okay for most riders and different trail conditions.
Tip: If you notice that the tire isn’t sealing properly or bulging, slightly over-inflate it, then release some air to ensure a good seal.
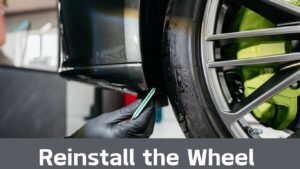
Step 7: Reinstall the Wheel
For the Front Wheel:
- Slide the axle into the dropouts on the fork.
- Tighten the quick-release lever or thru-axle to secure the wheel in its place.
For the Rear Wheel:
- You first need to position the chain on the smallest cassette’s cog.
- After that, slide the rear wheel into the frame while pulling back the derailleur (It’ll make space for the wheel to slide in).
- Tighten the axle and check alignment to make sure everything is in place.
Final Check: After fixing the flat tire and reinstalling it, spin the bike’s wheel to check if it’s moving freely or not.
Plus, check the bike tire shouldn’t be rubbing with the brake pads or frame.
If it doesn’t align properly, you’ll hear a wired voice; in such case, you’ve fixed the problem.
Also read: How to make your core strength for better balance on technical trails
Step 8: Test Before Riding

Before planning a ride, you should take a few minutes to double-check everything:
- You can bounce the bike lightly to check the tire is properly seated and that the tube is free from kinks or twists.
- Test the brakes and gears to make sure they’re functioning properly after the wheel removal.
- Take a short ride at a slow speed to make sure the tire holds pressure, and there are no issues with handling it.
Tips that can help you prevent flats tire in mountain biking or cycle
Use Tubeless Tires: If you often get punctured in a tube tire and don’t like fixing it again and again, you can consider upgrading your tire with tubeless tires.
They’ll seal small punctures automatically, plus the chances of a flat tire are less in them.
Add Tire Liners: They’re an excellent choice to protect your bike tire from thorns and sharp objects like glass that often cause punctures.
Check Tire Pressure Regularly: Low tire pressure also increases flat tire risk, so you want to make sure your tires are inflated to the correct PSI based on your weight, terrain, and riding style.
Replace Worn Tires: If you’ve used your bikes too much and tires are almost worn out with thin treads or visible cracks, you can replace them in advance because chances are high they’ll get flat.
Final Thoughts
Puncture in a mountain bike or cycle is a common problem, but it’s very important to fix it because when the tire is punctured, it’s hard to ride that bike as you can’t have any speed and control.
But it’s a small problem that you can easily learn how to fix within a few minutes, and you don’t have to go to any bike shop for a professional.
In order to fix the flat tire, first identify which tire you want to fix the puncture in. Then, remove any air by pressing the valve and removing the tube from the tire.
Then, after taking the tube out, refill it with air and try to hear any sound (air leaking sound).
If you can’t hear it, then put that tube in a water-filled bucket to see bubbles coming out from the puncture place.
And then you can fix that by patching it with glue.
Lastly, reinstall the tube and the tire and fill the air again. Congrats! Your problem is solved.
What are the essential tools I need to fix a flat mountain bike tire on the trail?
As a mountain biker, the most important tools that you want to have are a spare inner tube or a patch kit. Tire levers, 2 or 3, are generally recommended.
A pump that is compatible with your valve type usually has two types: Presta and Schrader. And something to remove the wheel, like a lever or thru-axle (depending on your bike).
Most importantly, do not forget a CO2 insulator.
These tools are enough to fix a puncture anywhere. For multi-day trips, you can keep them in a backpack too.
Also read: How to plan a mountain bike trip to Europe
How do I remove a tight mountain bike tire from the rim?
It’s sometimes hard to remove stubborn tires, in such cases, You first want to deflate the tire completely and push the tire bead (the edge) towards the rim’s center all the way around.
After this, you need to use a tire lever to hook under the bead and over the rim. (Hook the second lever a few inches away and pull both upwards to lift the bead over the rim).
Once a section is over now you can run one lever around the rest of the rim. If the tire is too tight, then you can try using a third lever, but be careful not to pinch the tube.
Can I repair a mountain bike tire with sealant instead of a tube?
Yes! You can, many mountain bikers use tubeless sealant to prevent and fix punctures.
However, in tubeless tires, small punctures will often seal automatically (because they have sealant inside them).
However, for larger punctures, you might need to plug the hole with a tire plug.
How do I prevent flat tires on my mountain bike?
The best way to prevent tires on your mountain bike is to have the right amount of tire pressure based on your body weight, weight, and riding conditions.
Besides this, you should regularly do mountain bike maintenance, including inspecting tires for cuts, embedded objects, or excessive wear.
Plus, you can also consider using tire liners for more protection against punctures, especially when you want to ride in rocky terrain.

Ali is the founder of Mountain Bike Insider and an passionate rider with years of hands-on experience in mountain biking. From testing gear to exploring trails, Ali writes based on real riding knowledge to help others make smart, safe, and enjoyable biking choices. Every guide is built on research, personal use, and a passion for the sport.

